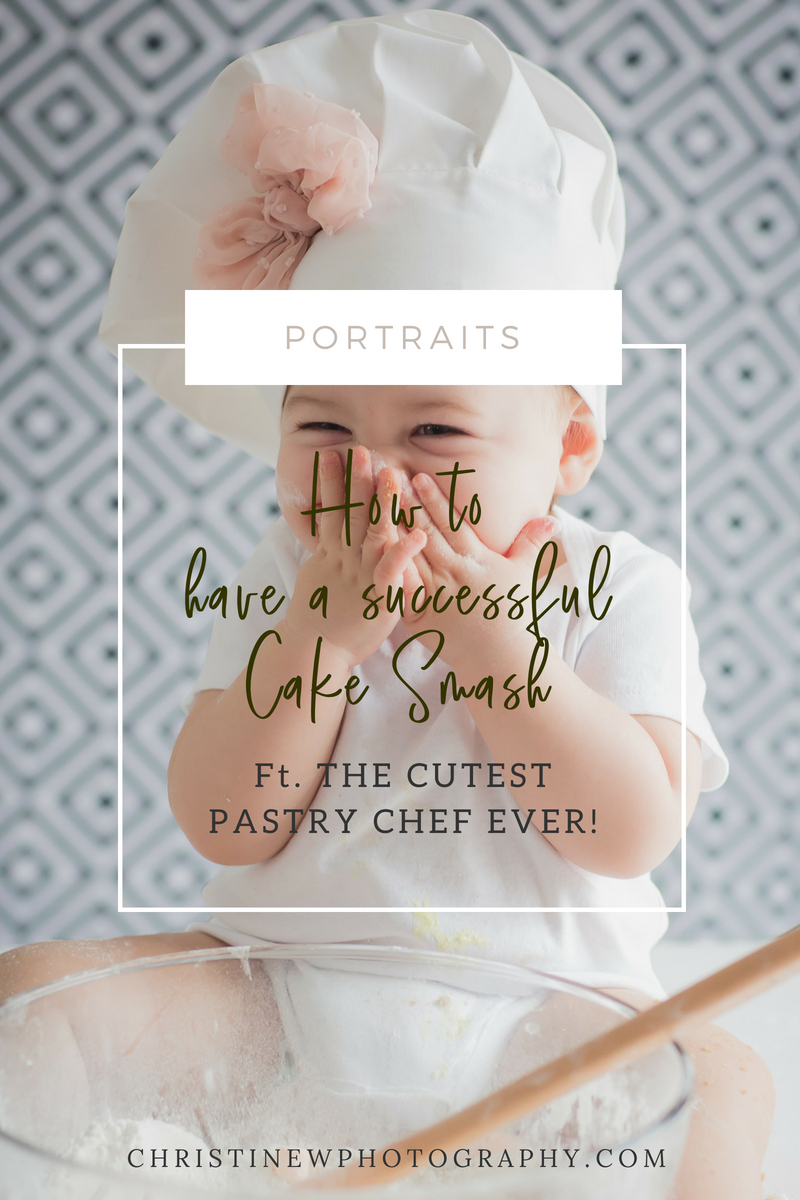
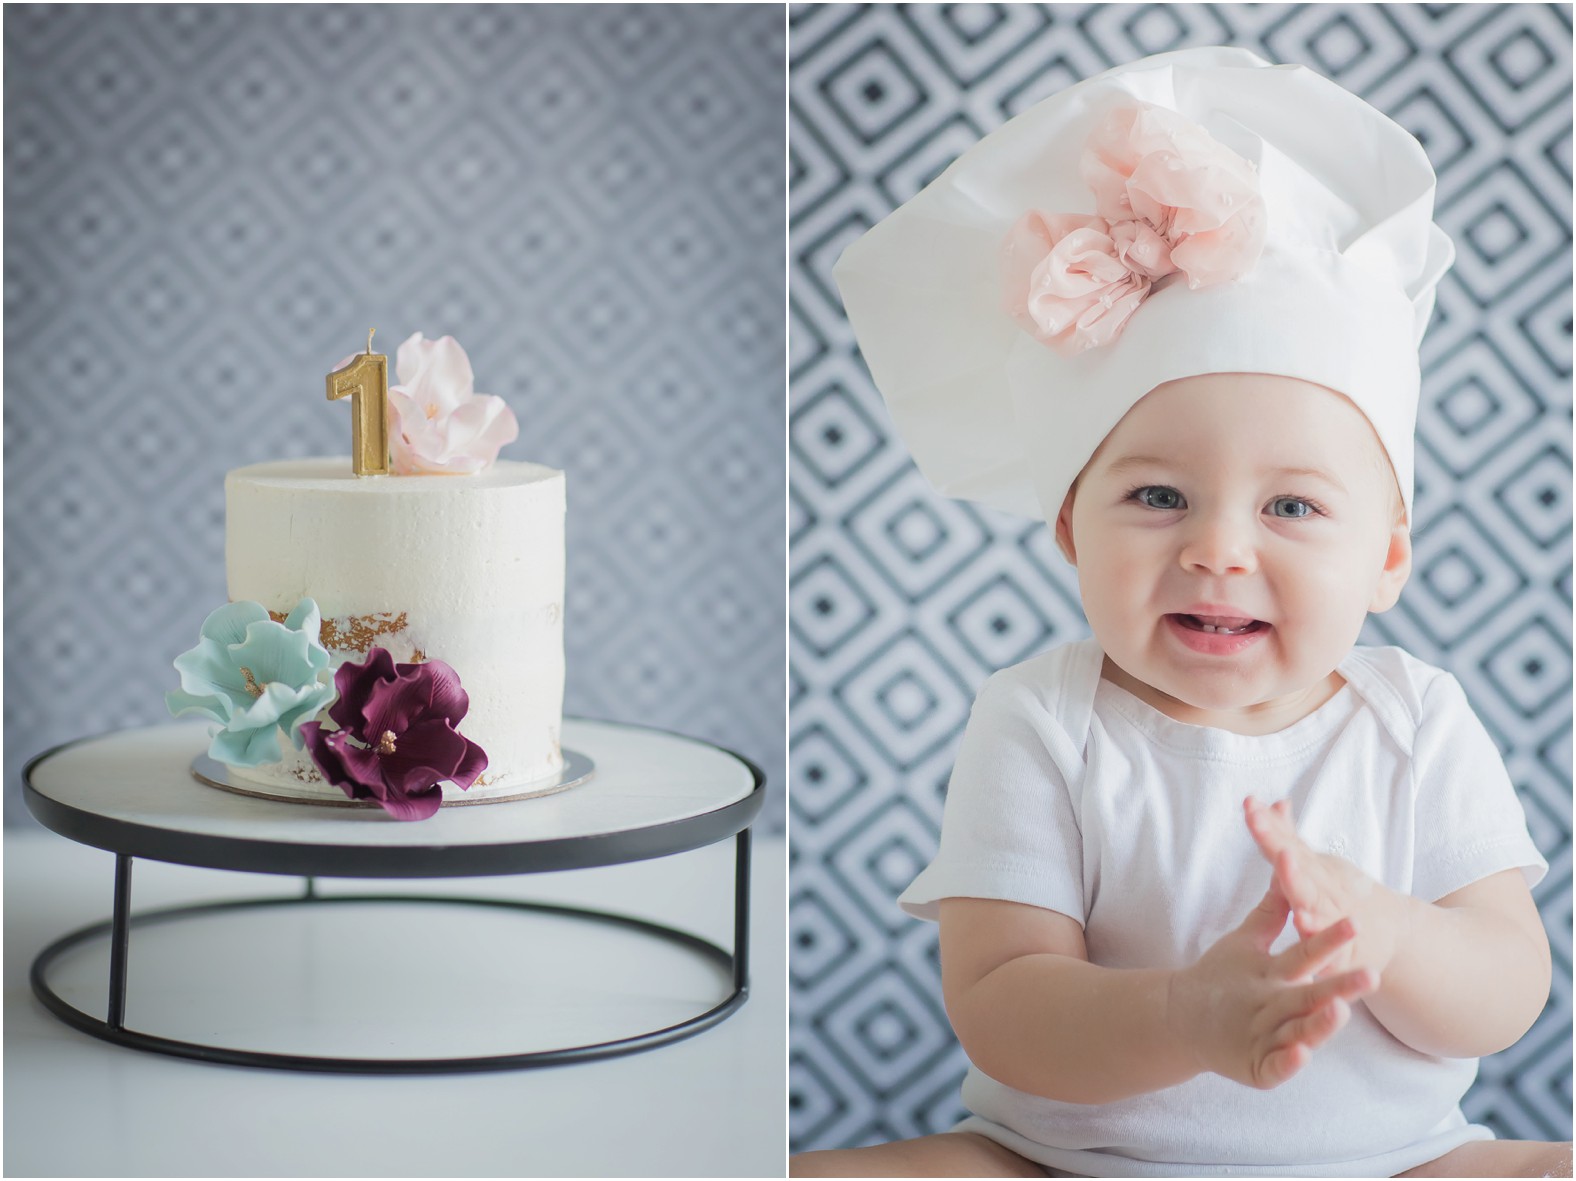
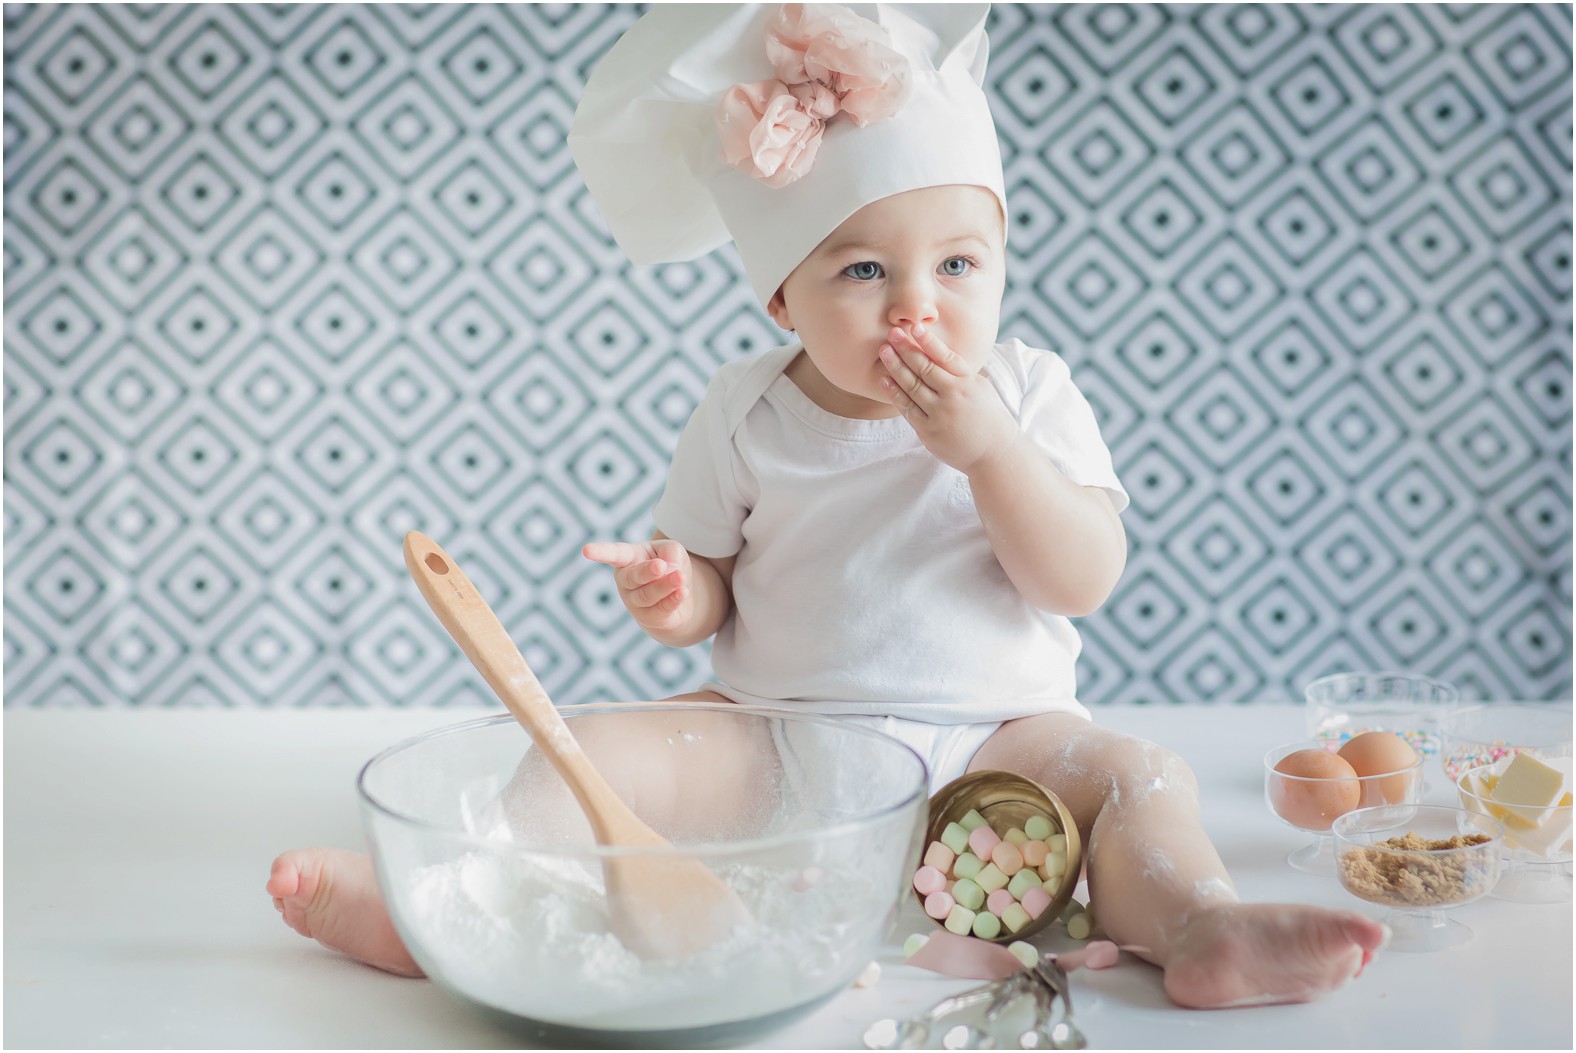
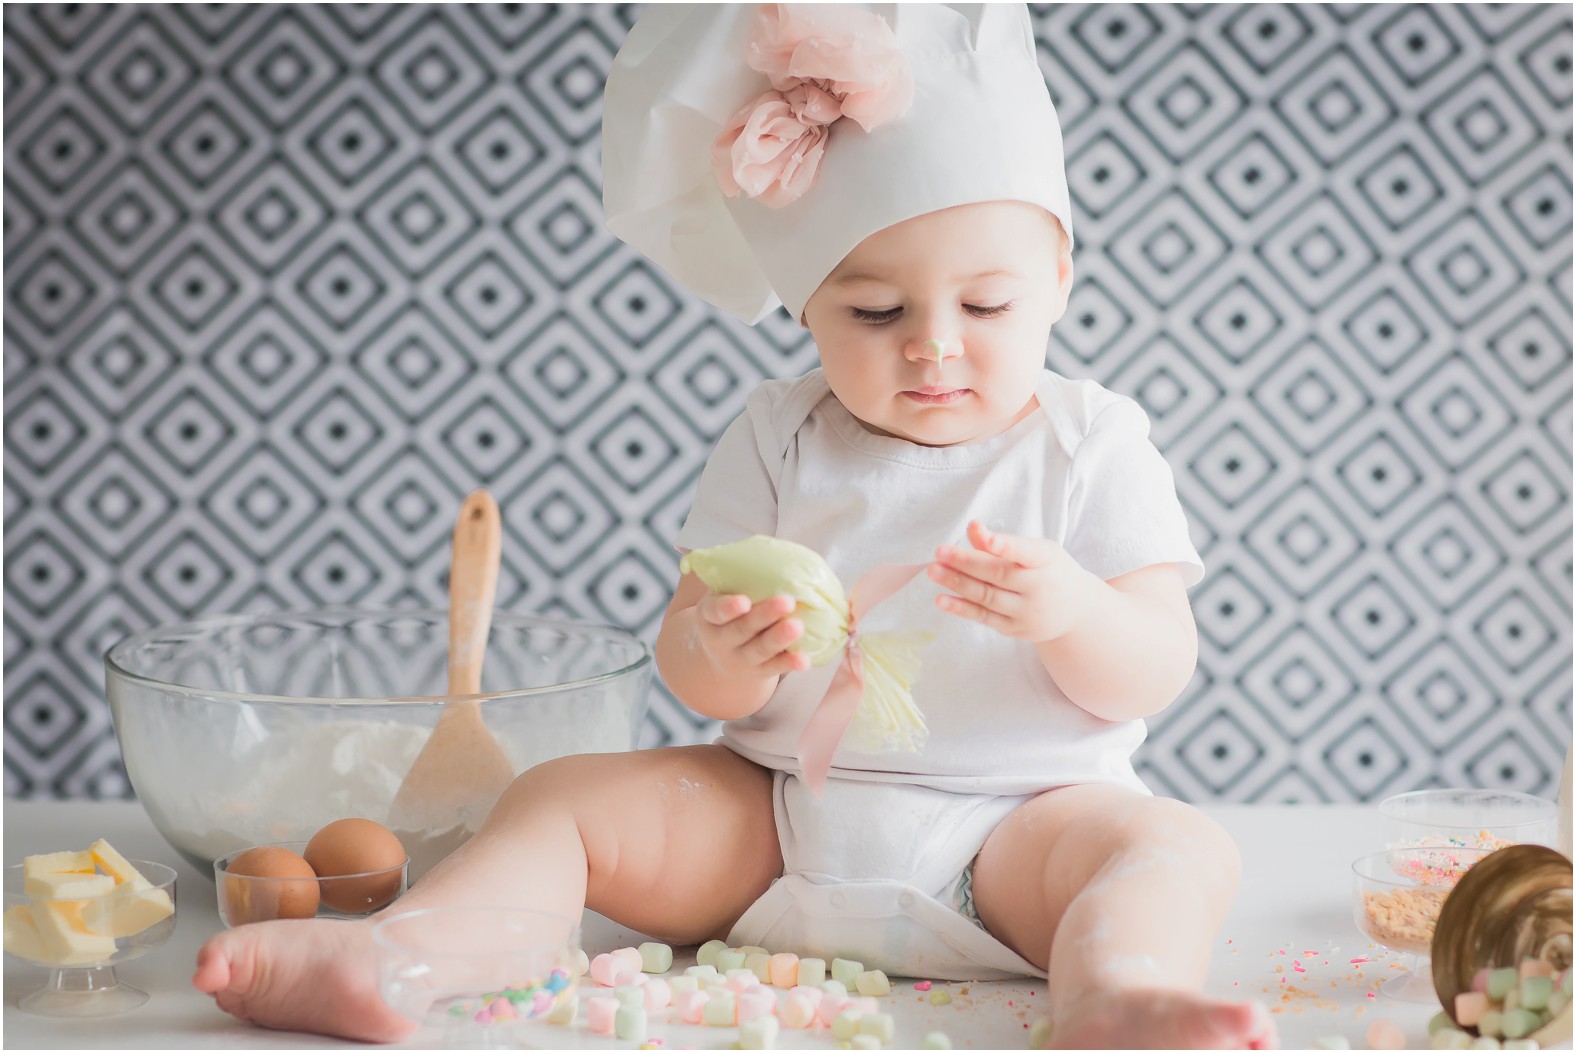
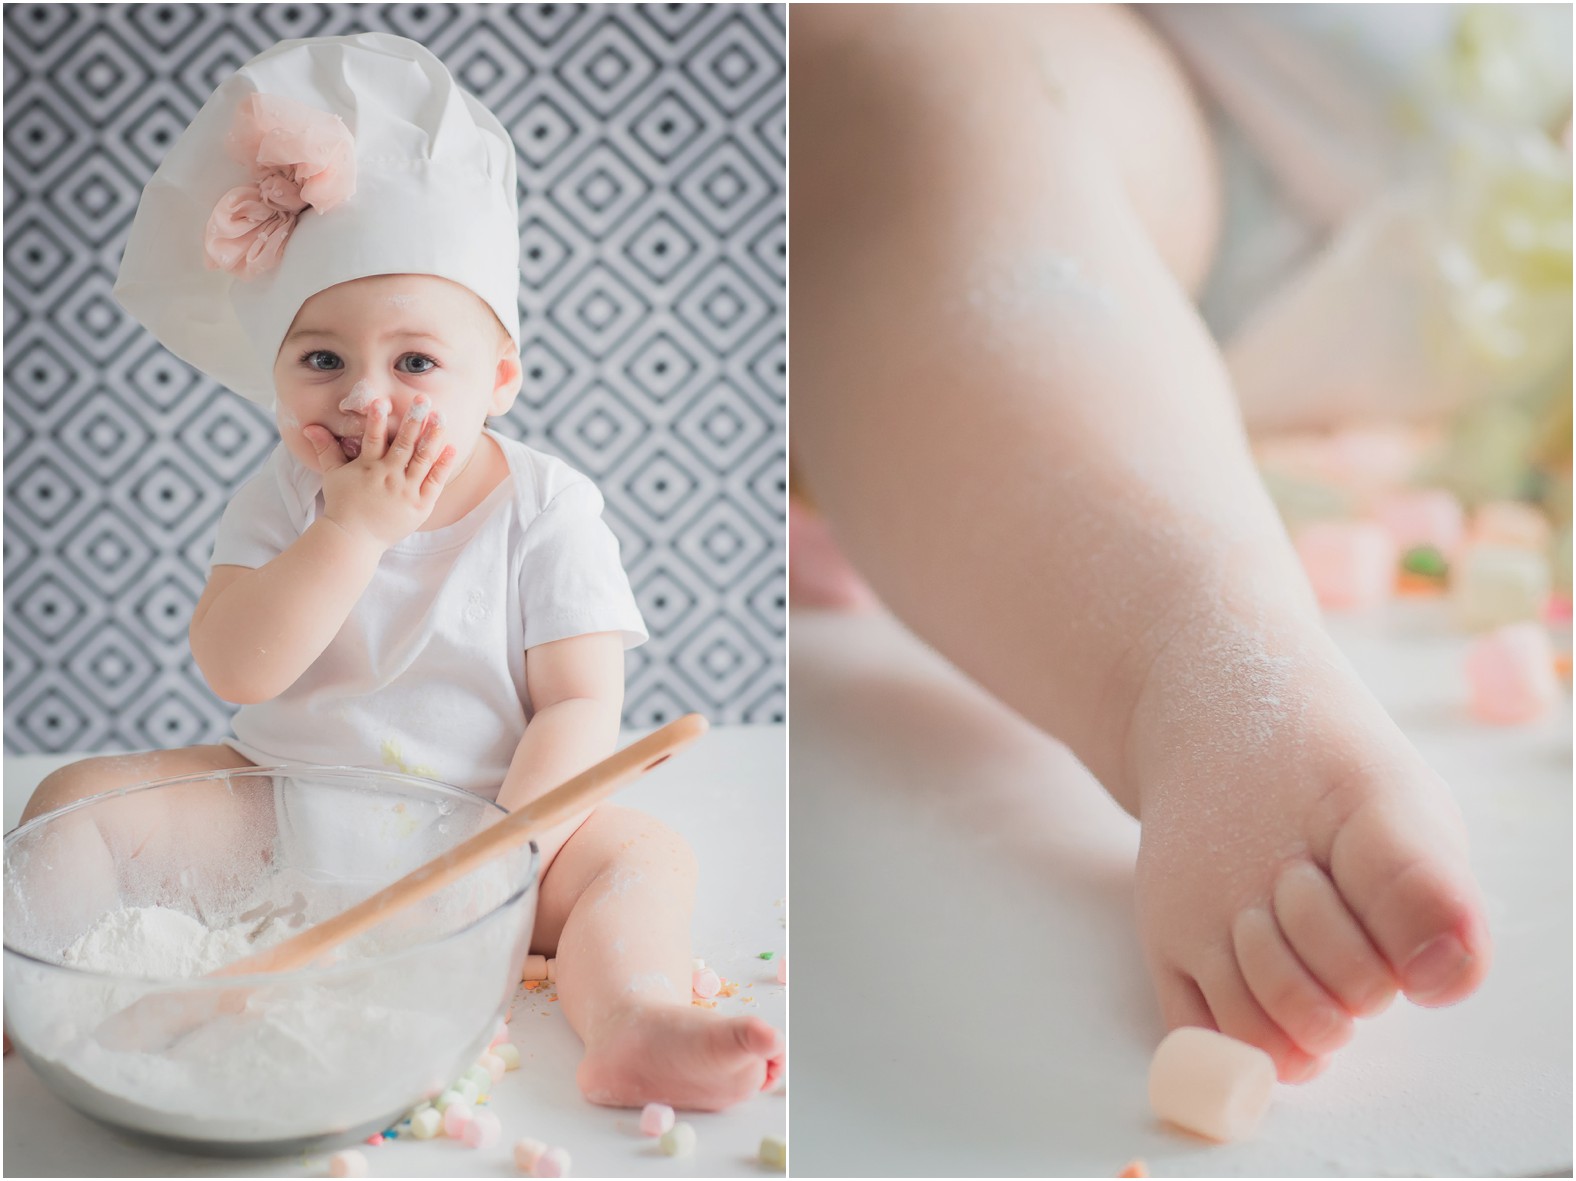
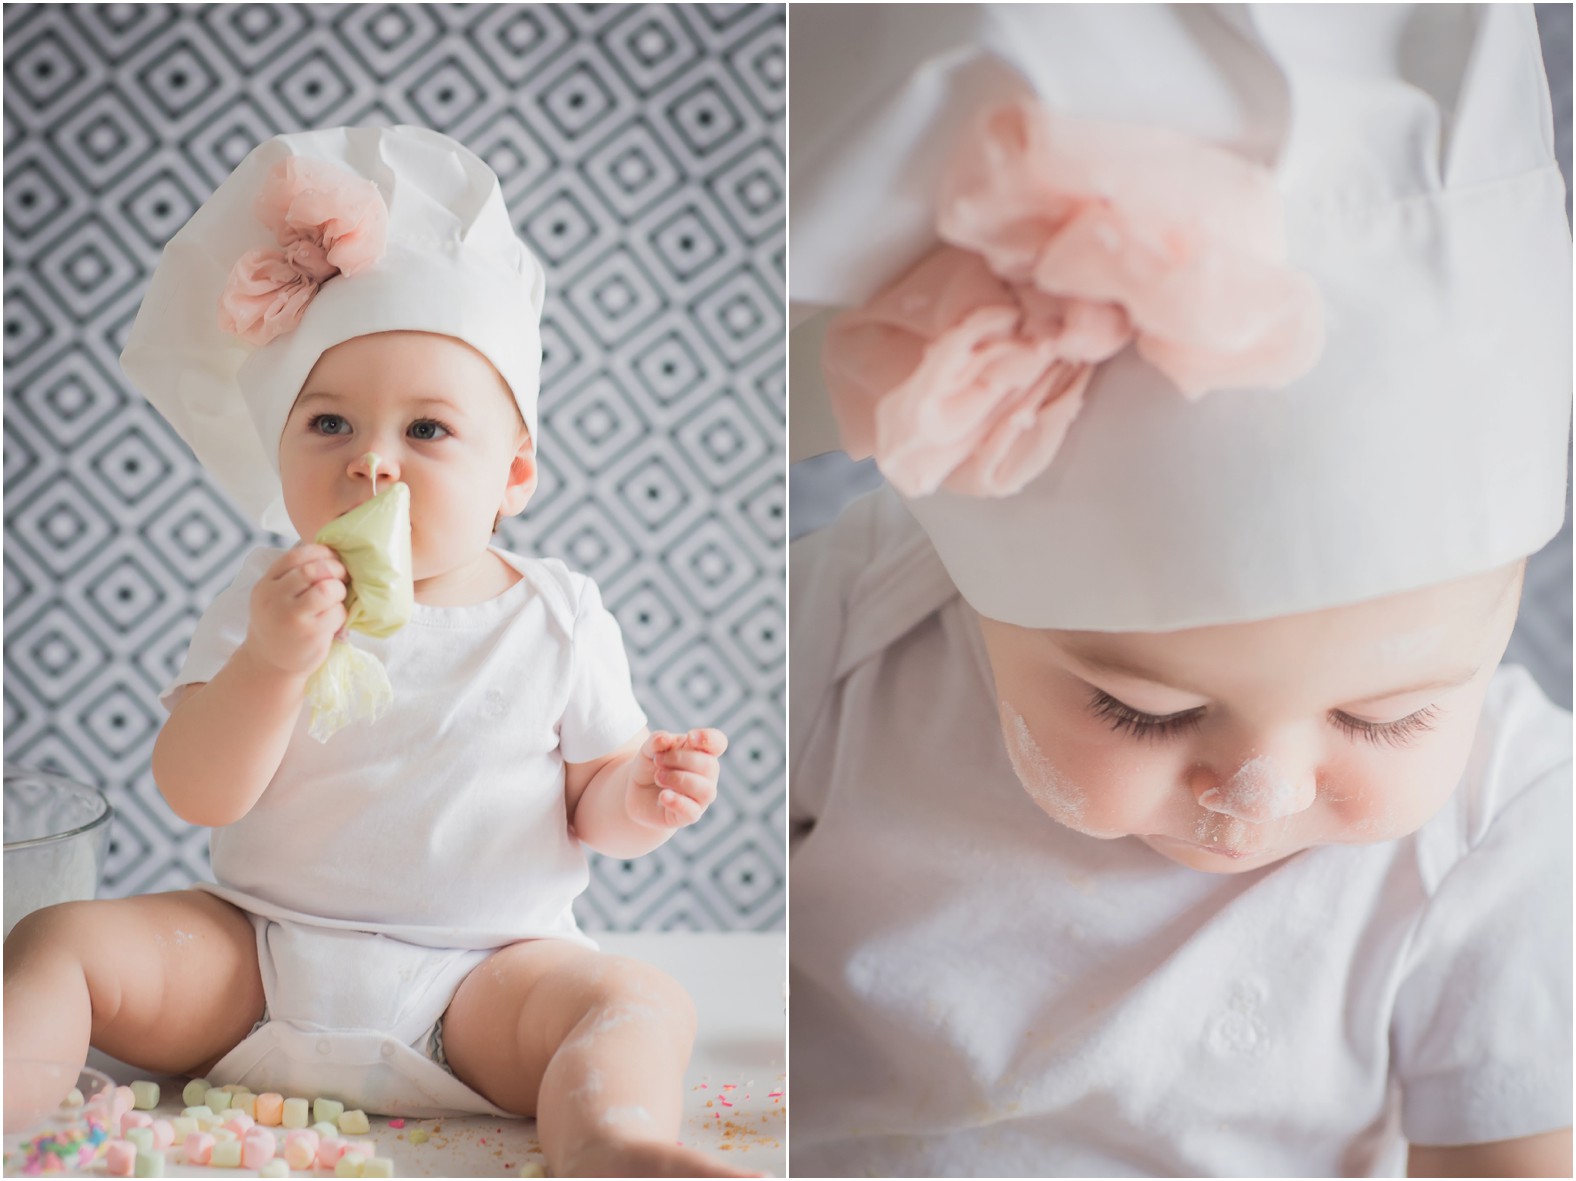
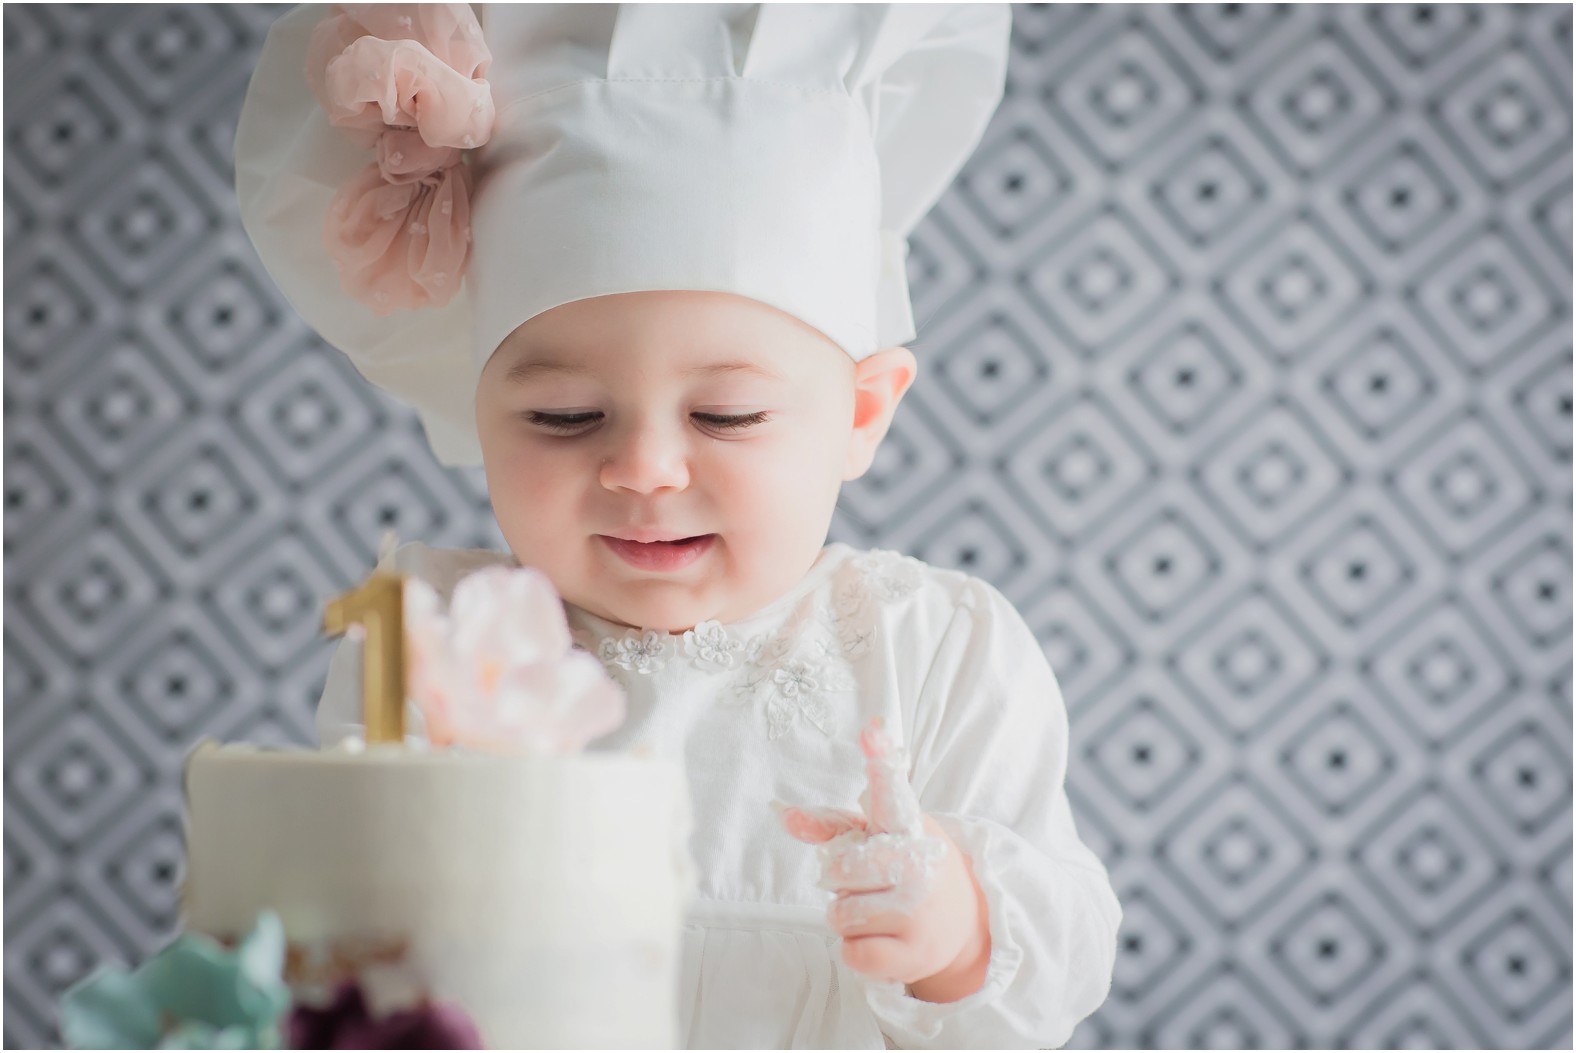
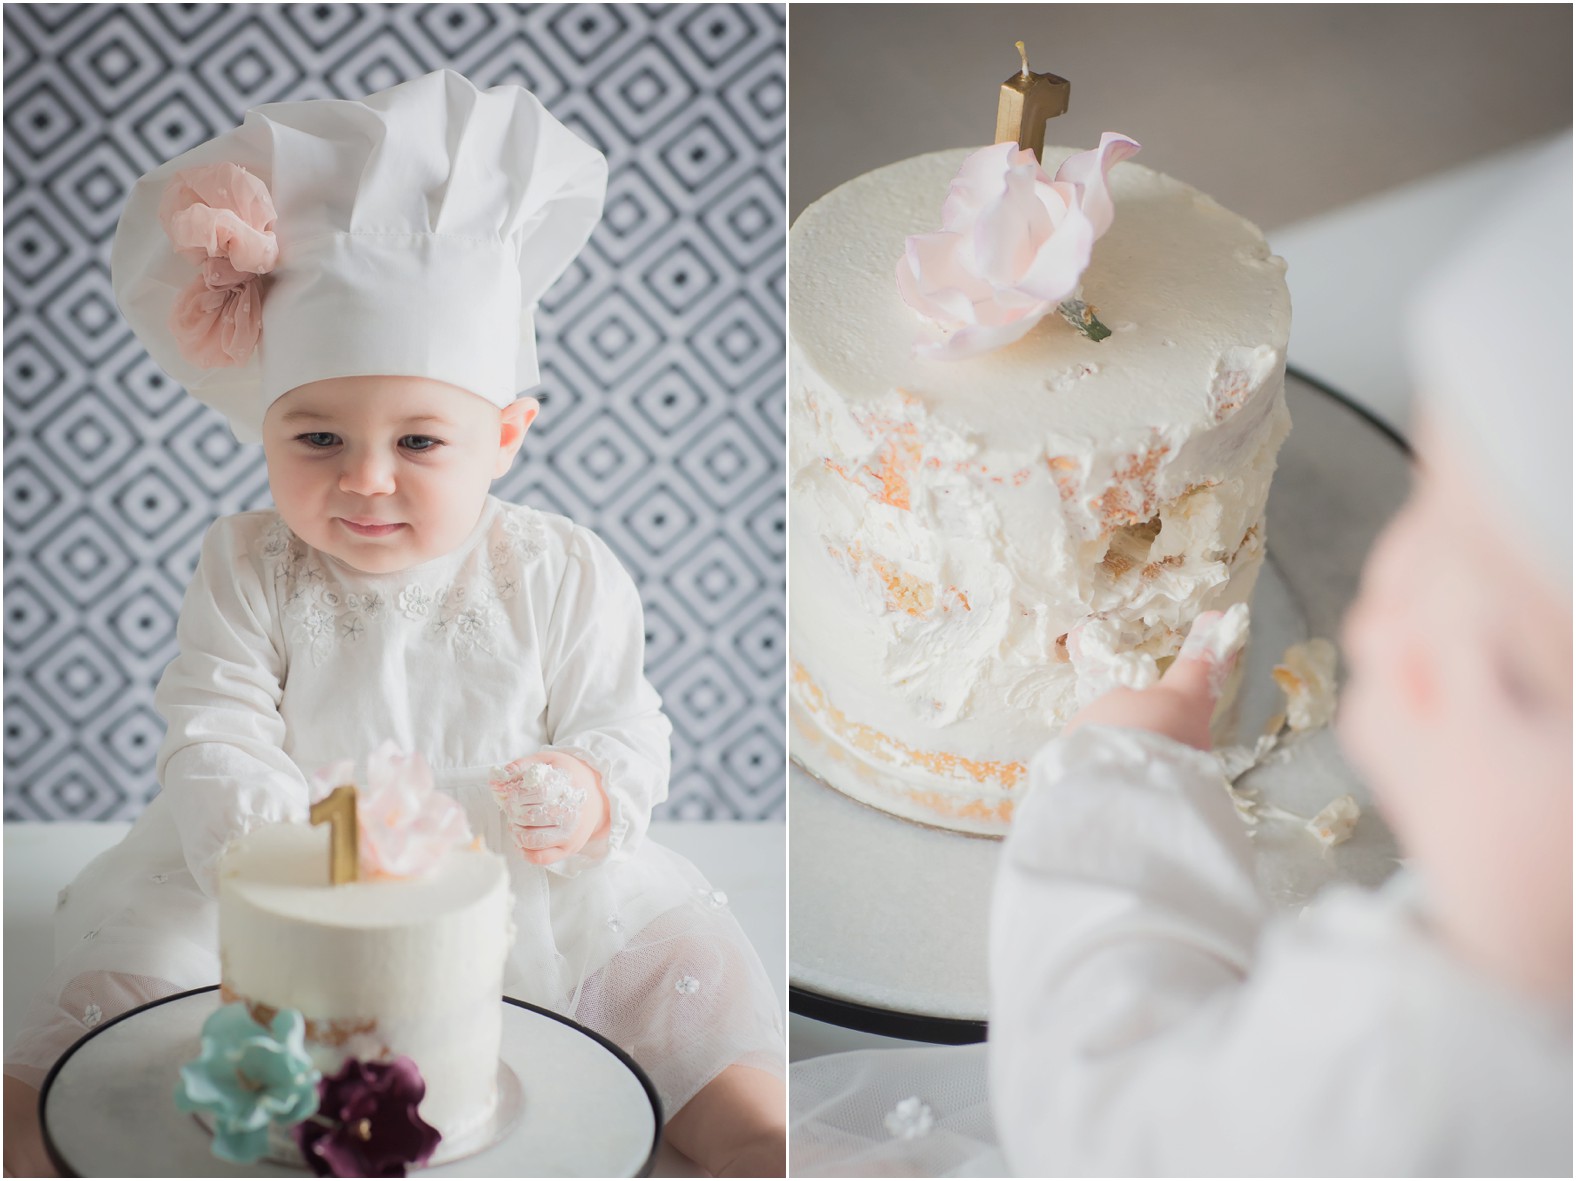
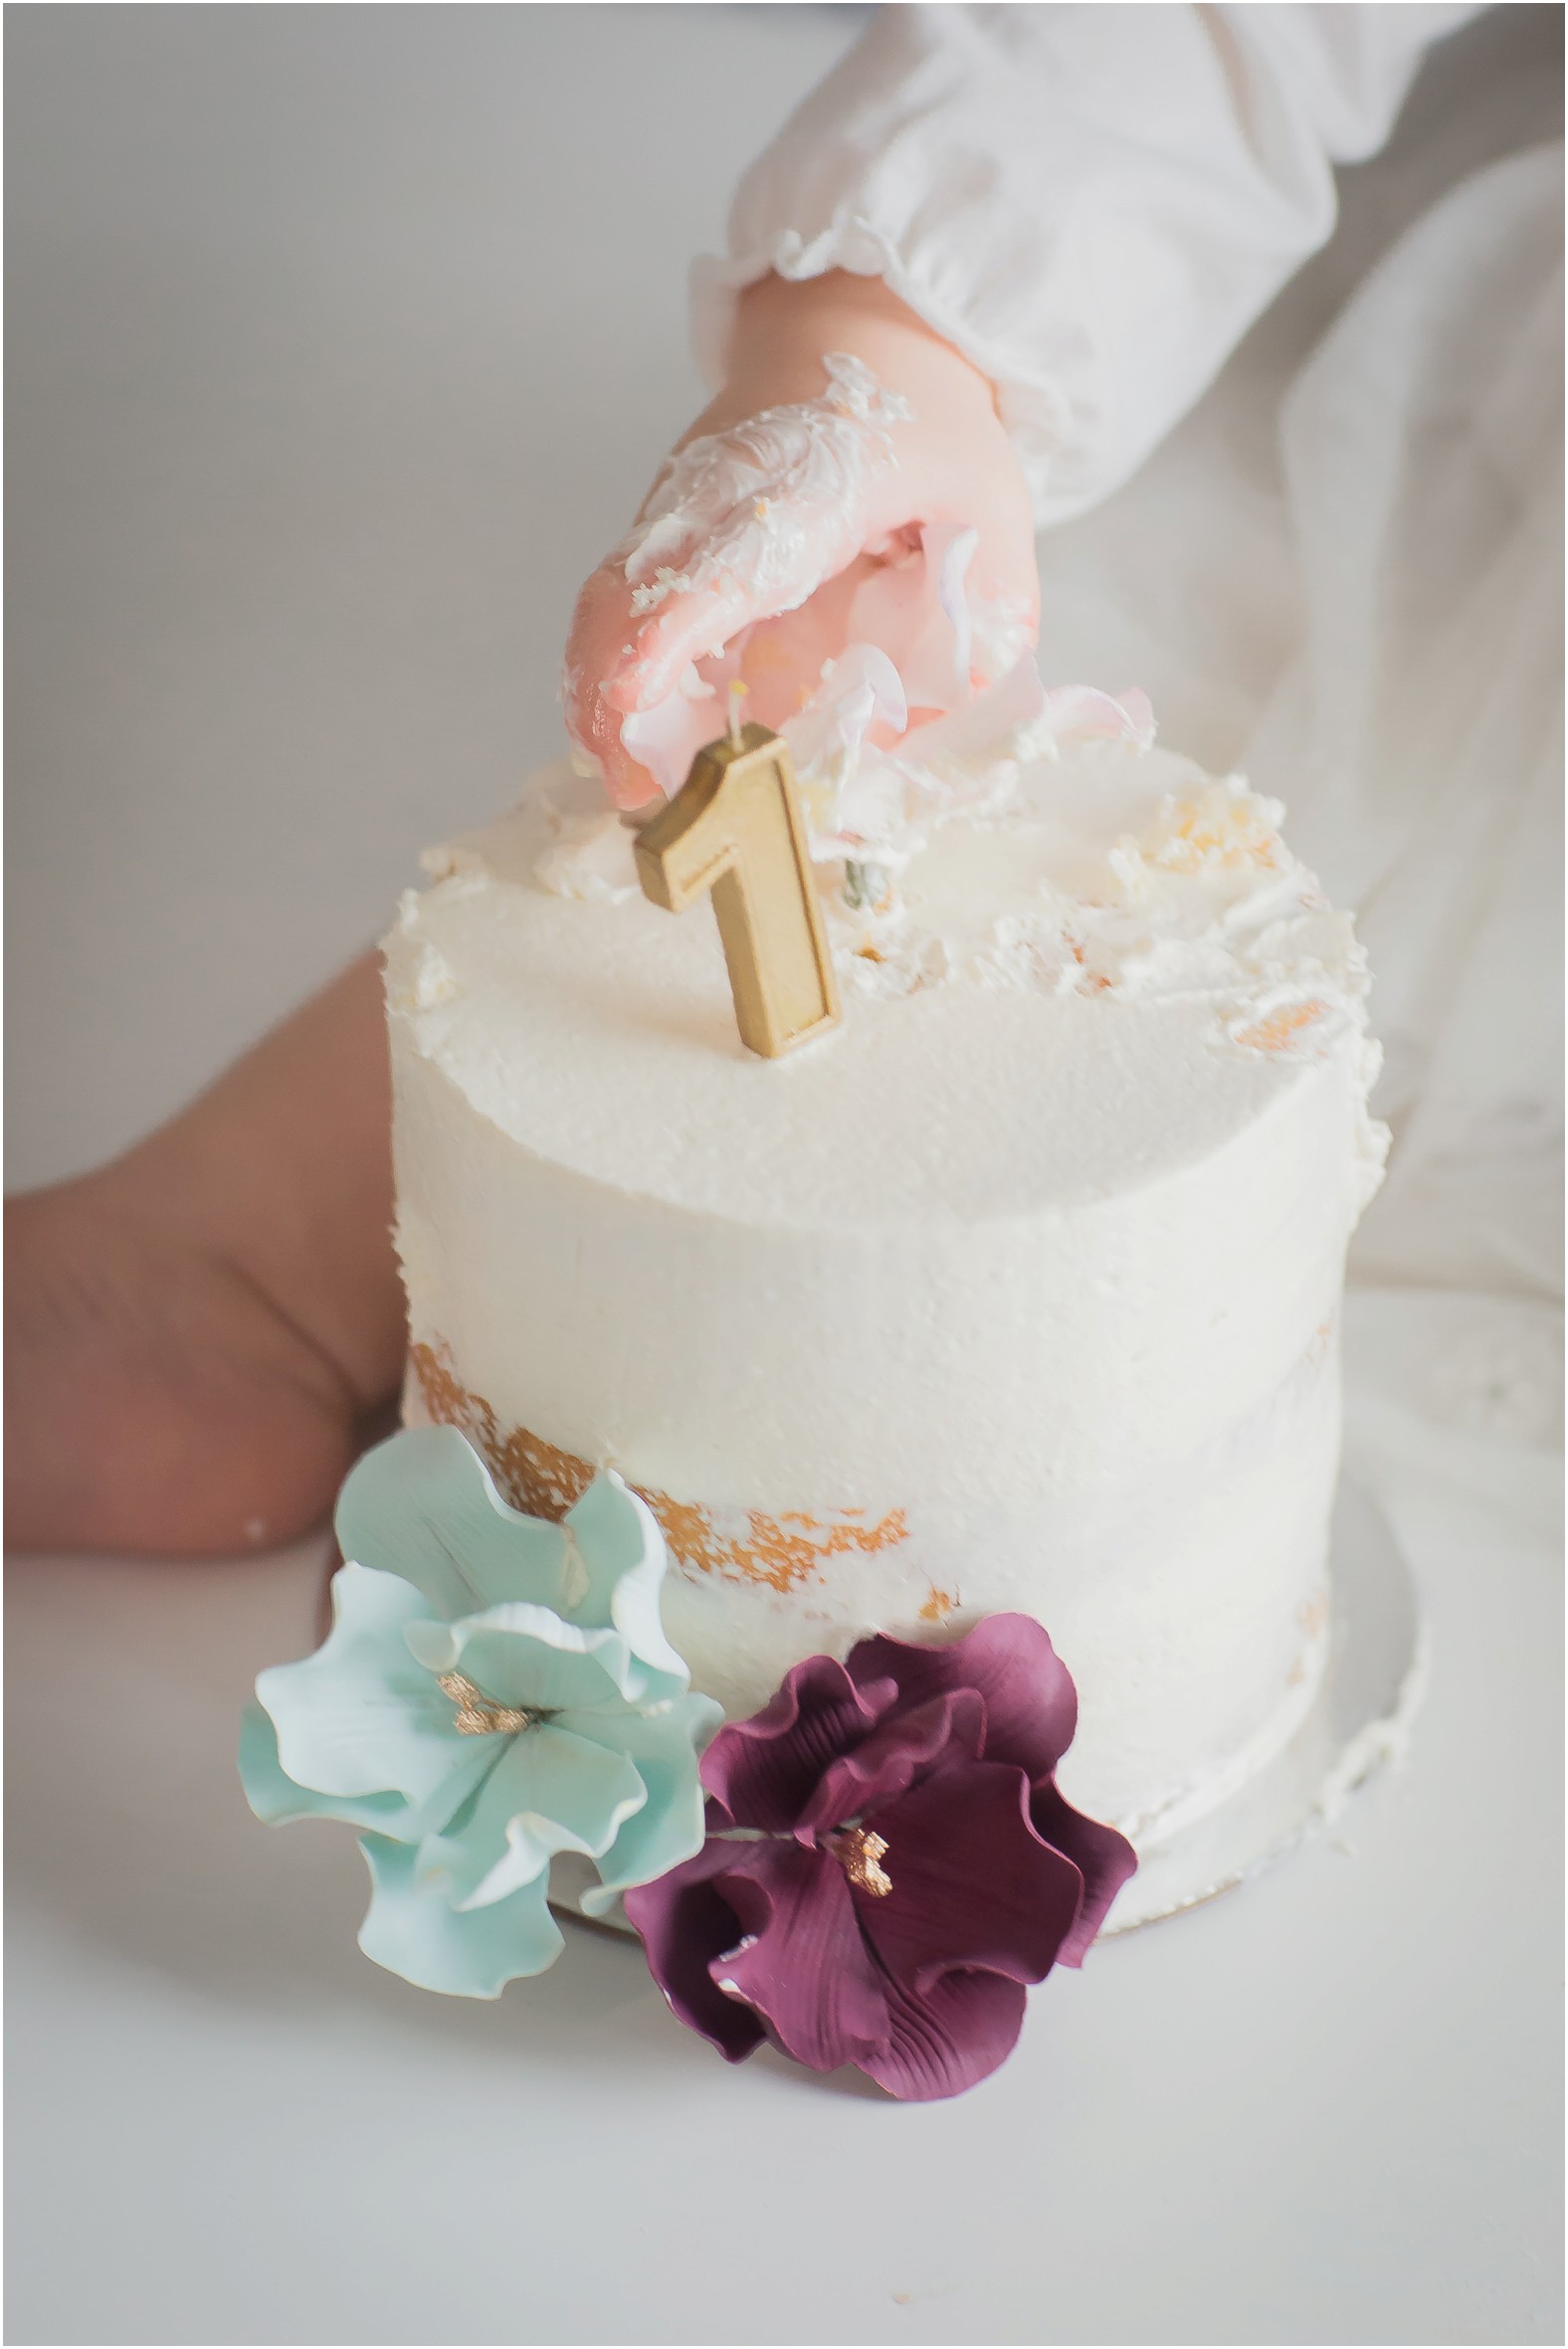
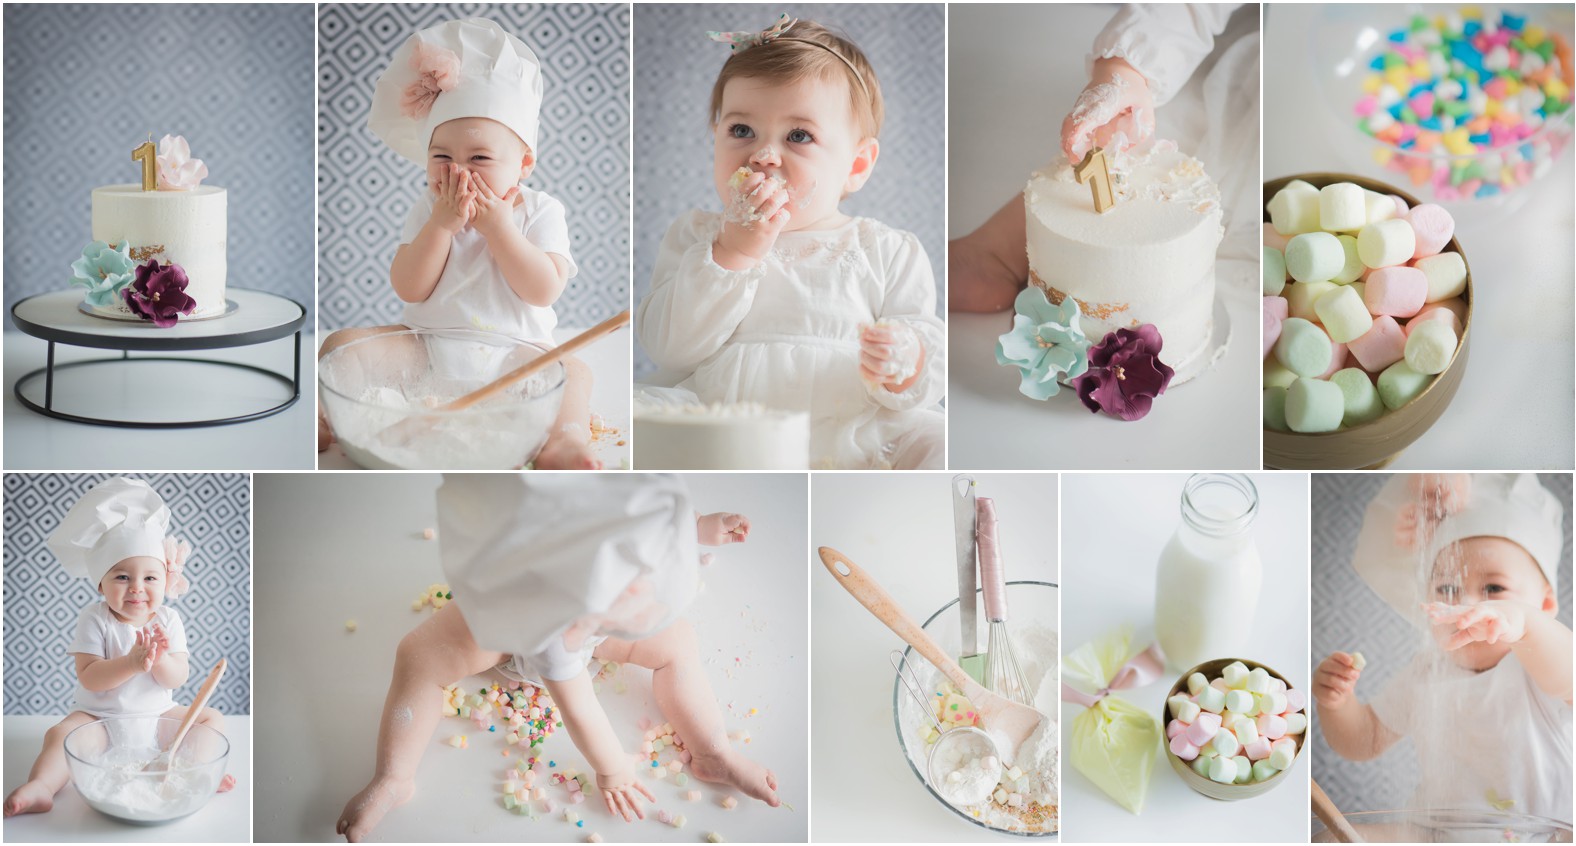
Styled by Laura of Laura Olsen Events, I am so excited to share this cutie pastry Chef Cake Smash with you today. I mean, is there a better way to kick off the week than with photos of cute babes covered in gourmet cake from The Dessert Room? If you said yes, you’ve gotta be kidding me!
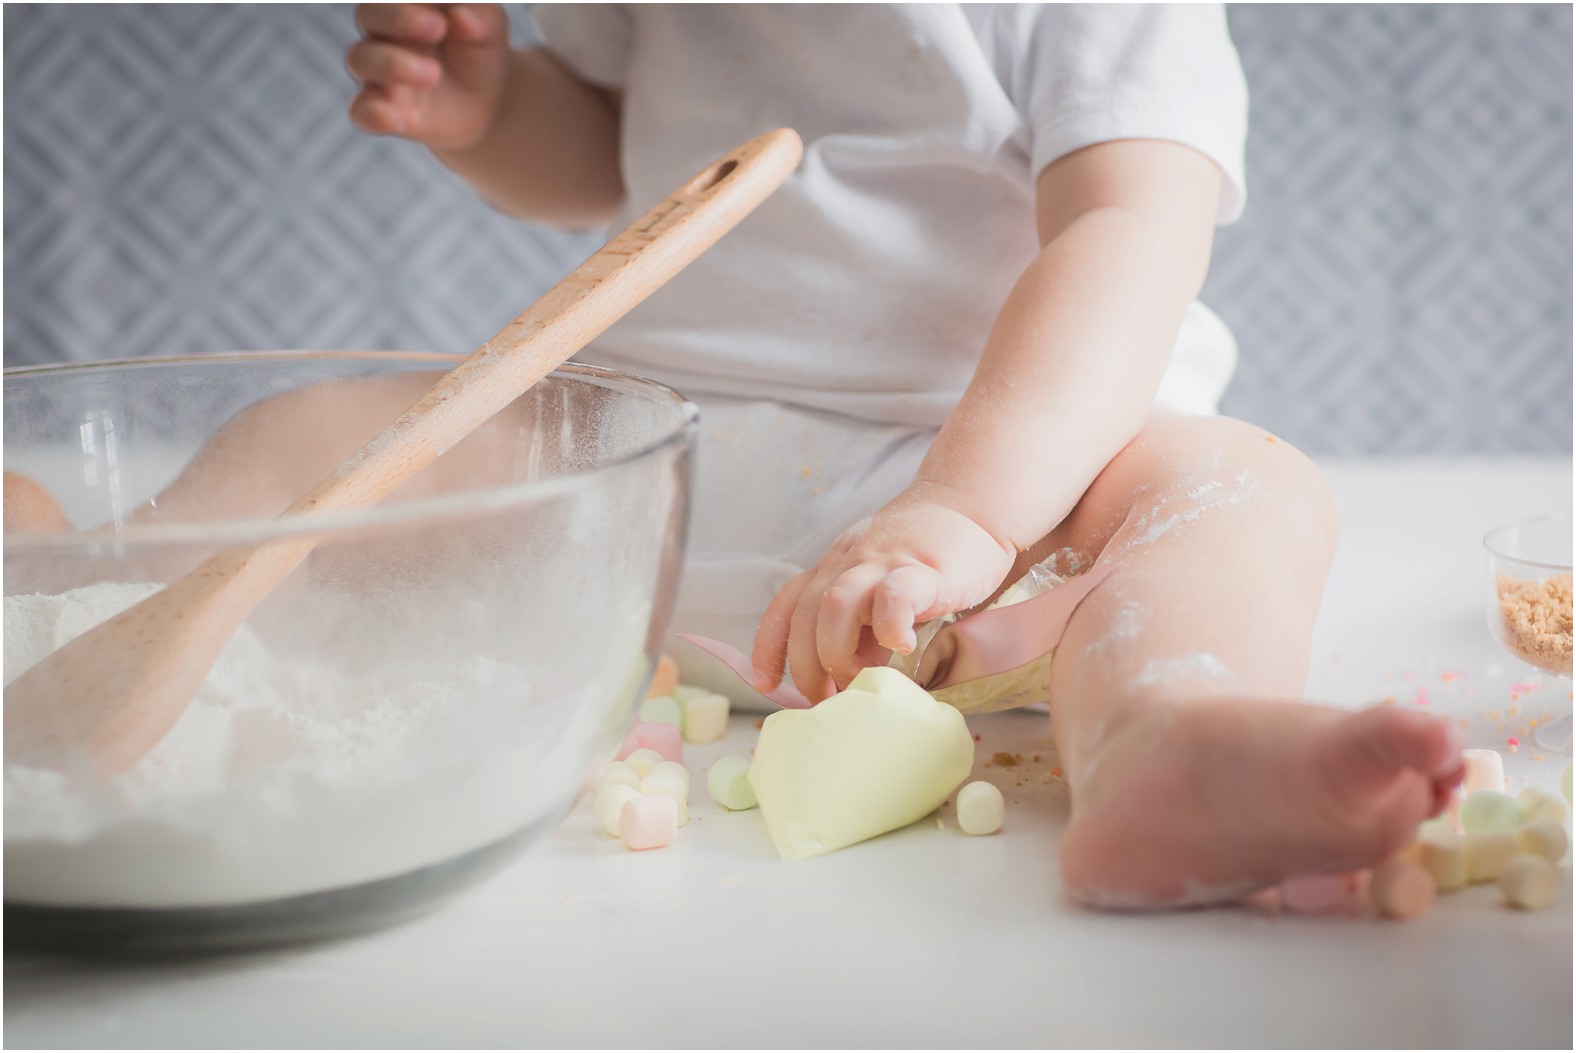
Sweet Em joined me for a session to celebrate, a couple of weeks before her birthday so Mom could gift the images to her doting family members as part of her party favours. She was one of the most relaxed, happy babies to photograph and totally obliged us with all the fun we had planned for her morning in my home “studio” space (aka: my naturally-lit kitchen to allow for ALL the mess).
Have a scroll down for some Monday sweetness, top tips for a successful smash AND some recipe love from The Dessert Room if you’re feeling adventurous ahead of party planning (or craving cake like I now am!)
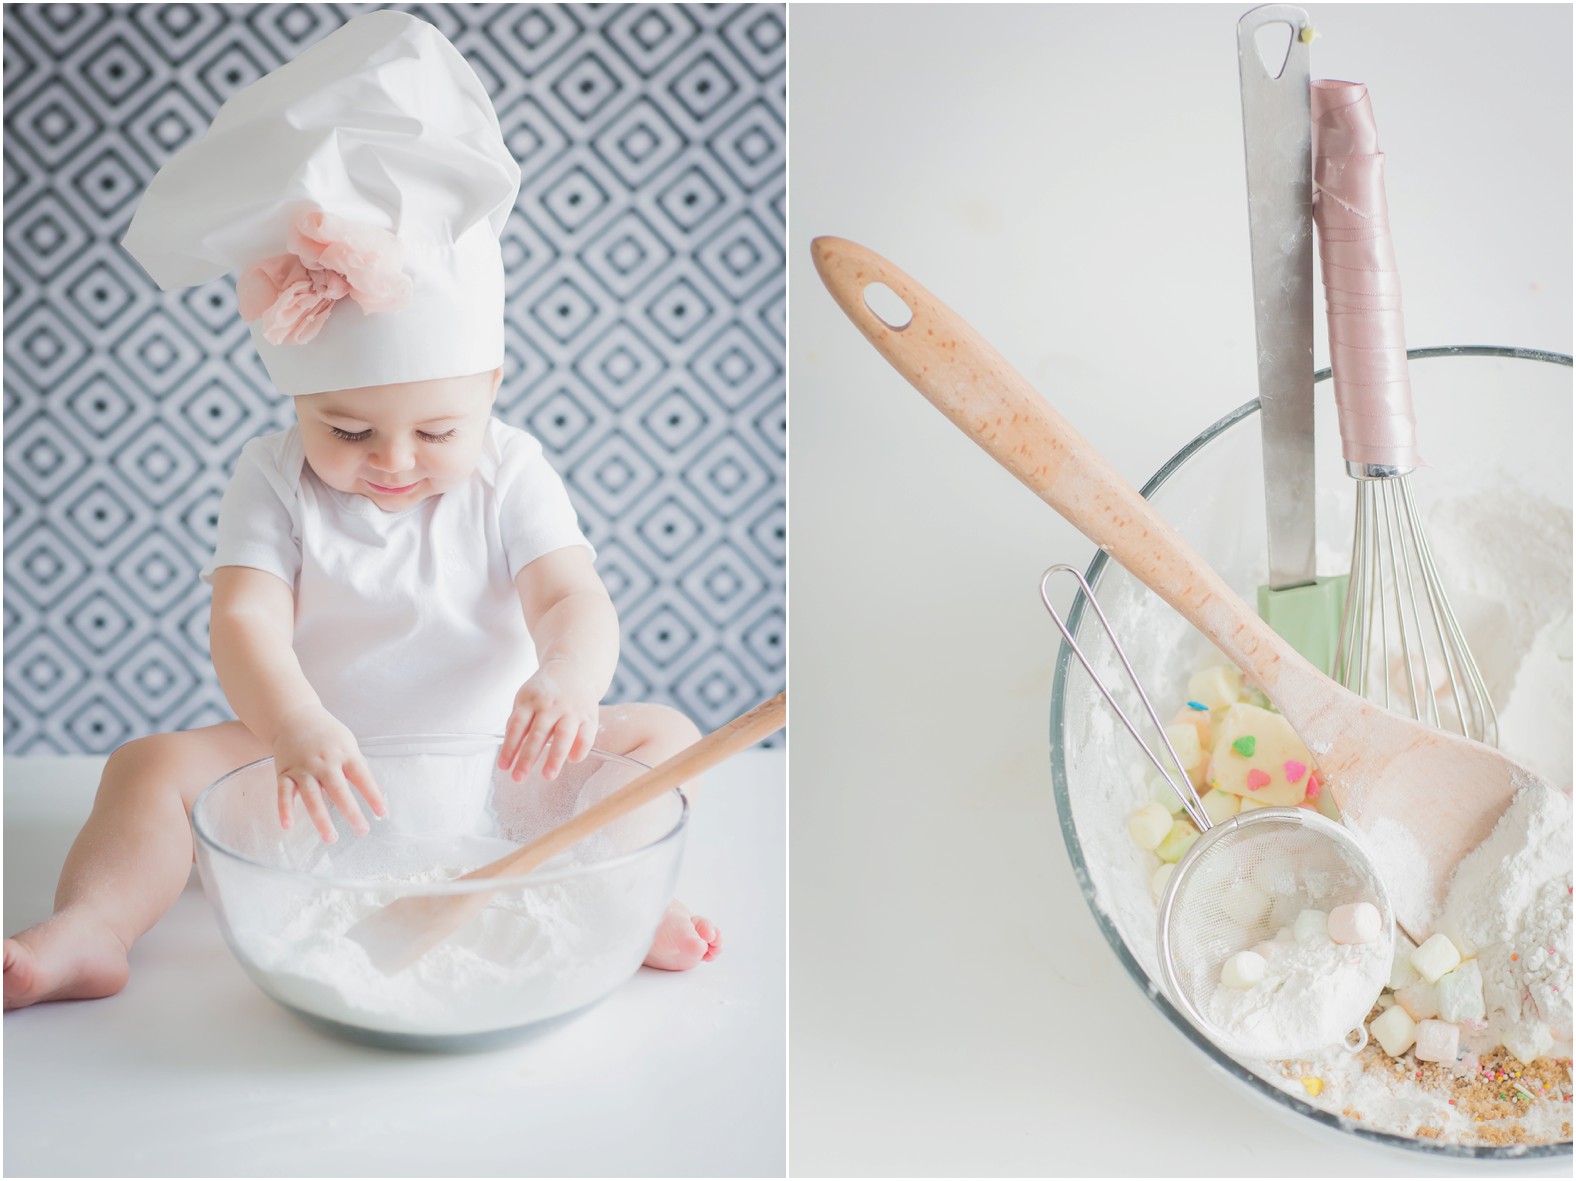
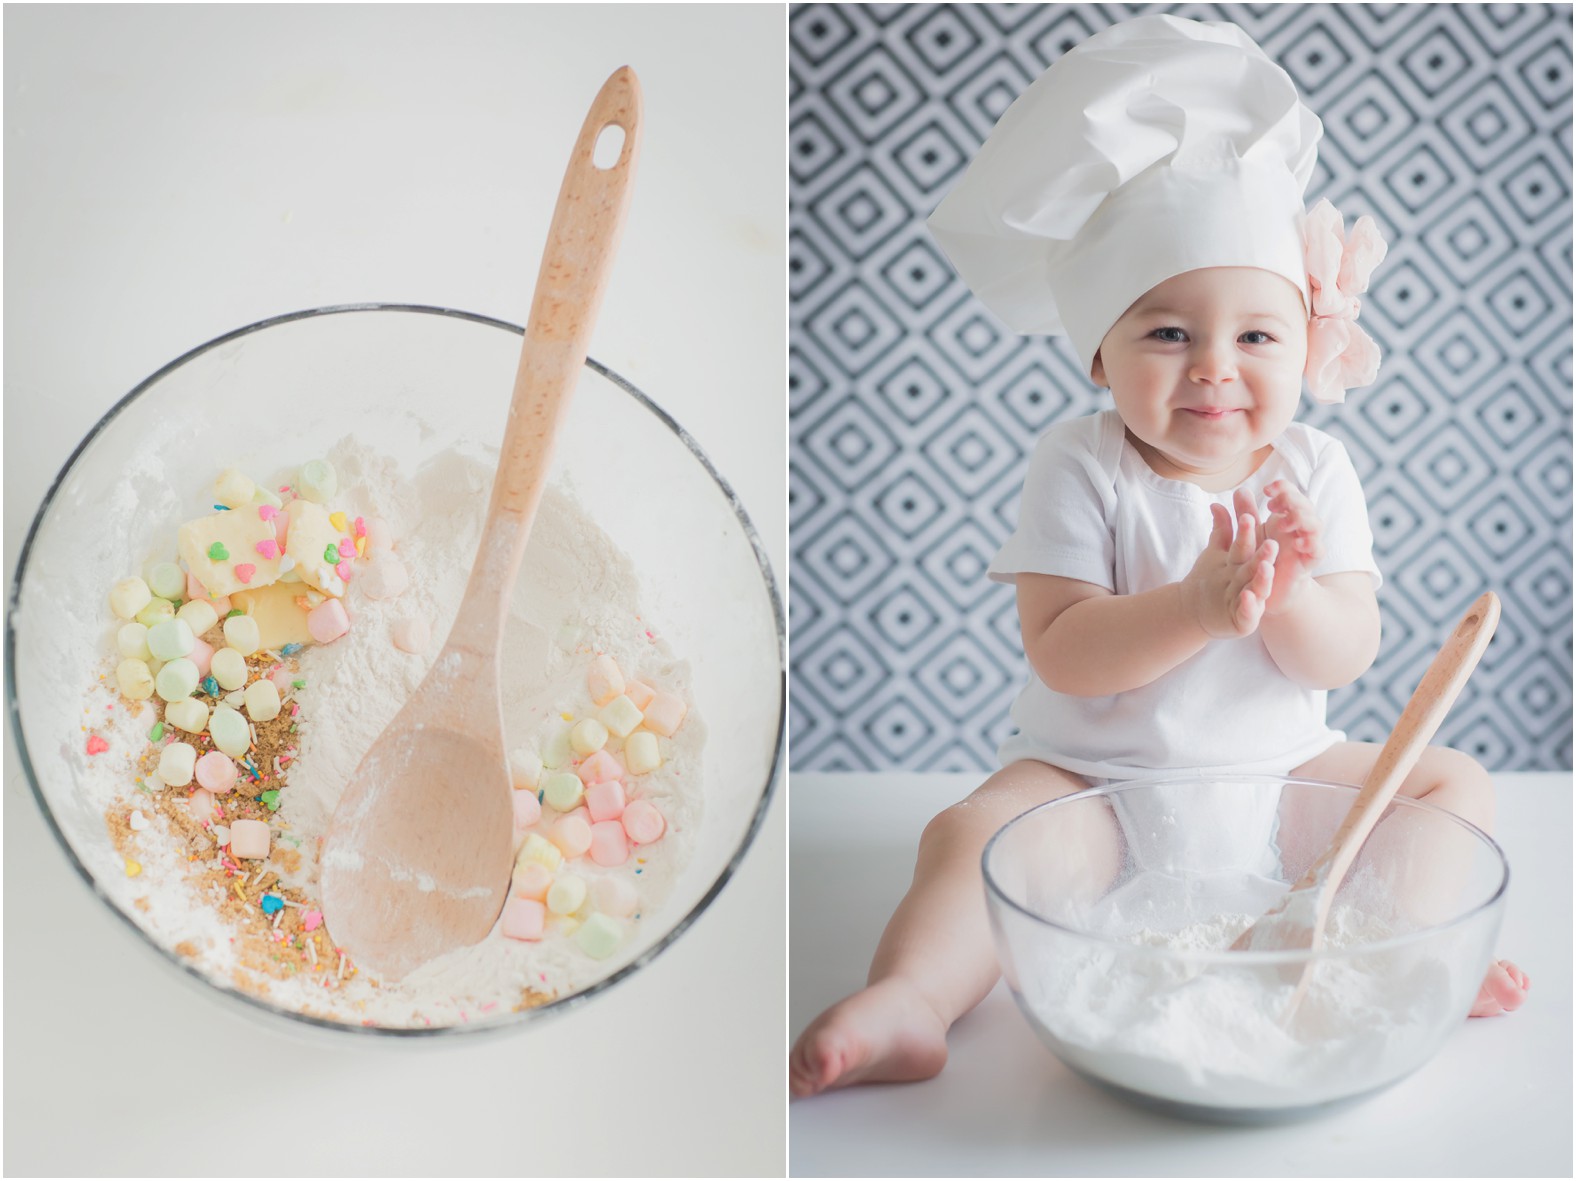
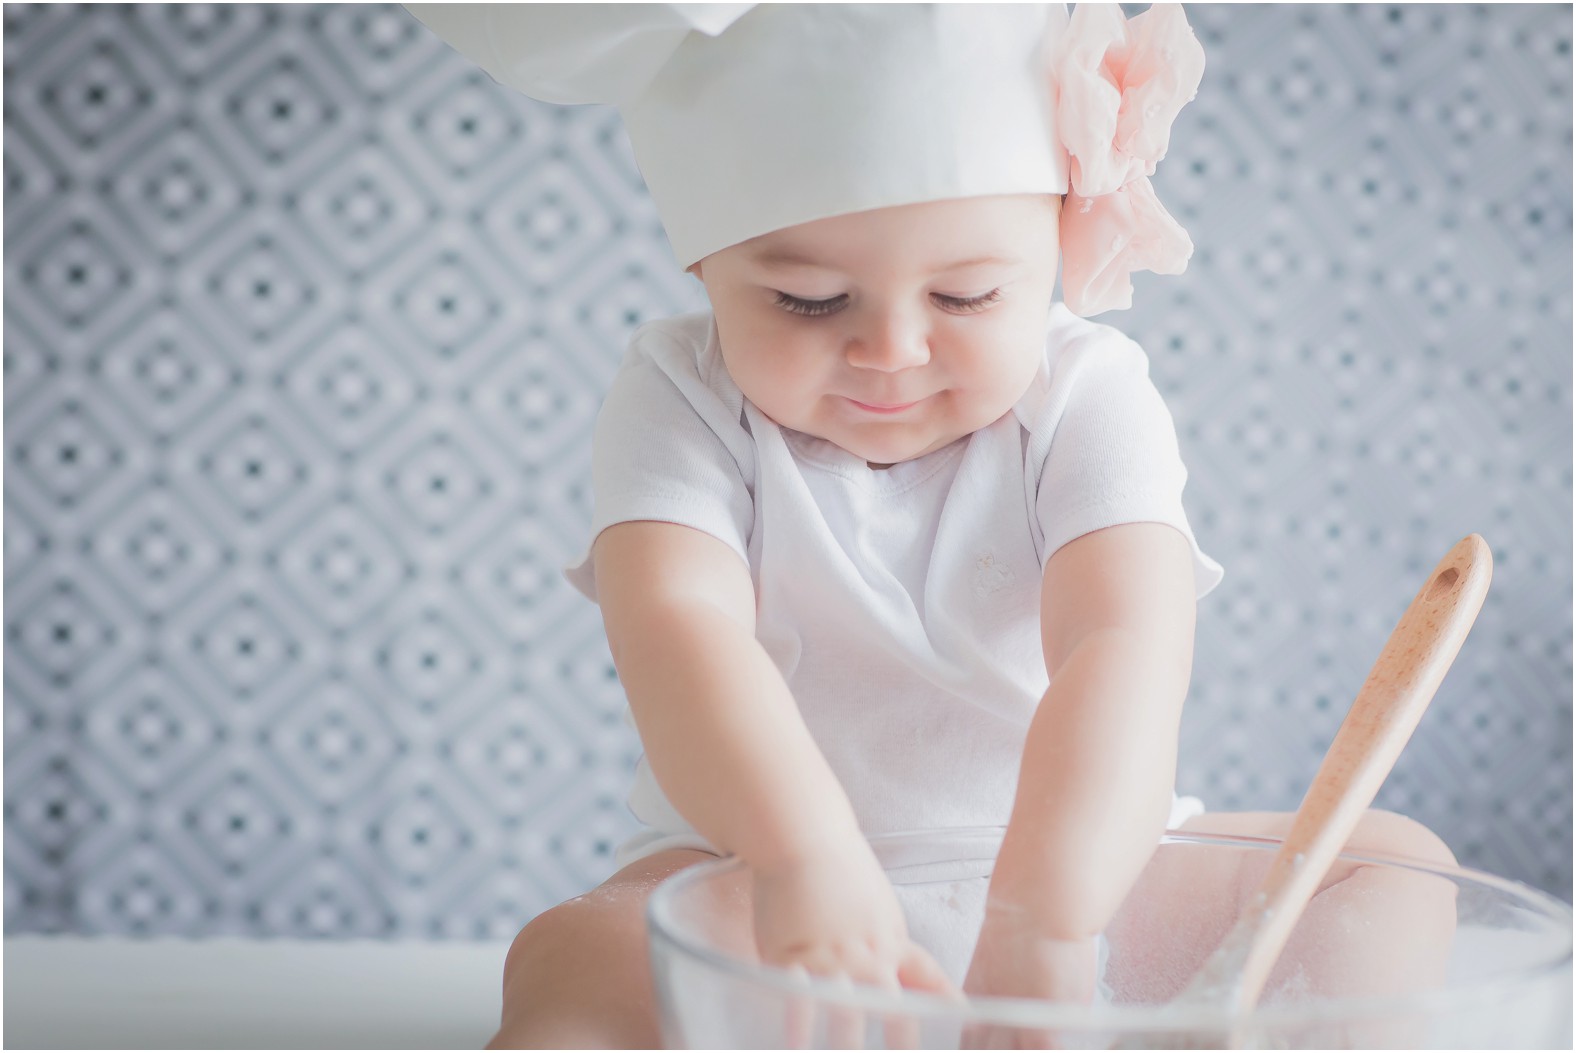
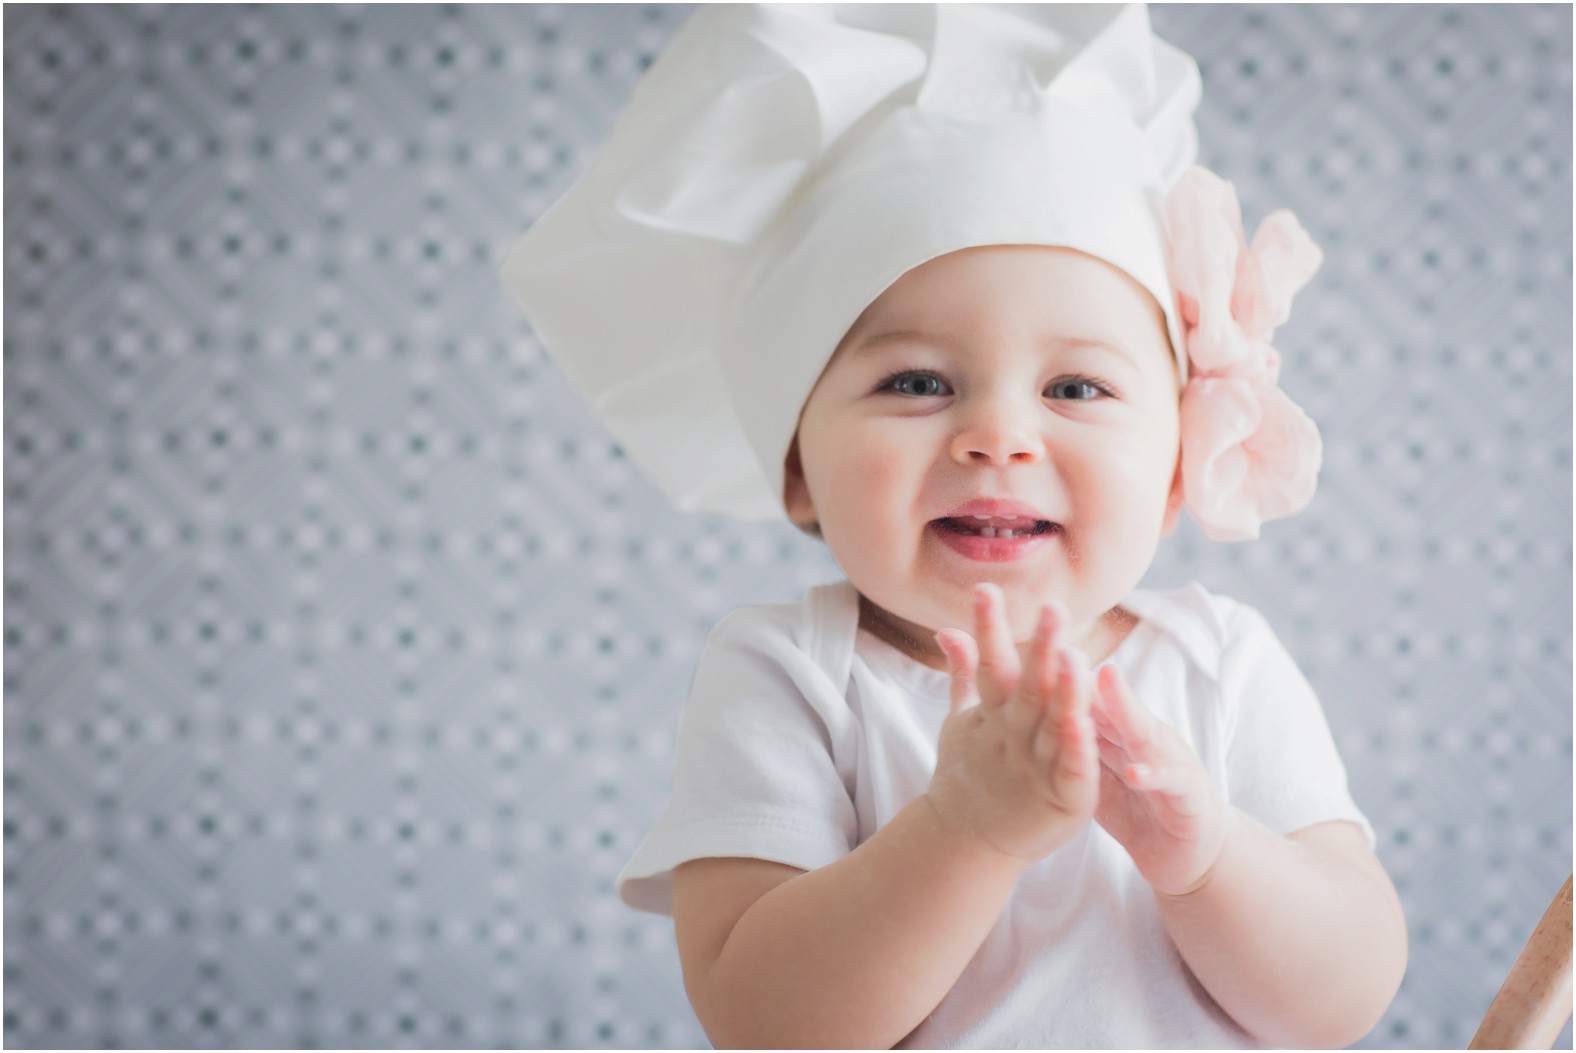
5 tips for a successful smash:
- Keep an open mind and an eye out for fun, alternative backdrops relatively inexpensively in the material sections of craft stores. *Spoiler alert: The one we used here was actually a really retro, fun tablecloth*
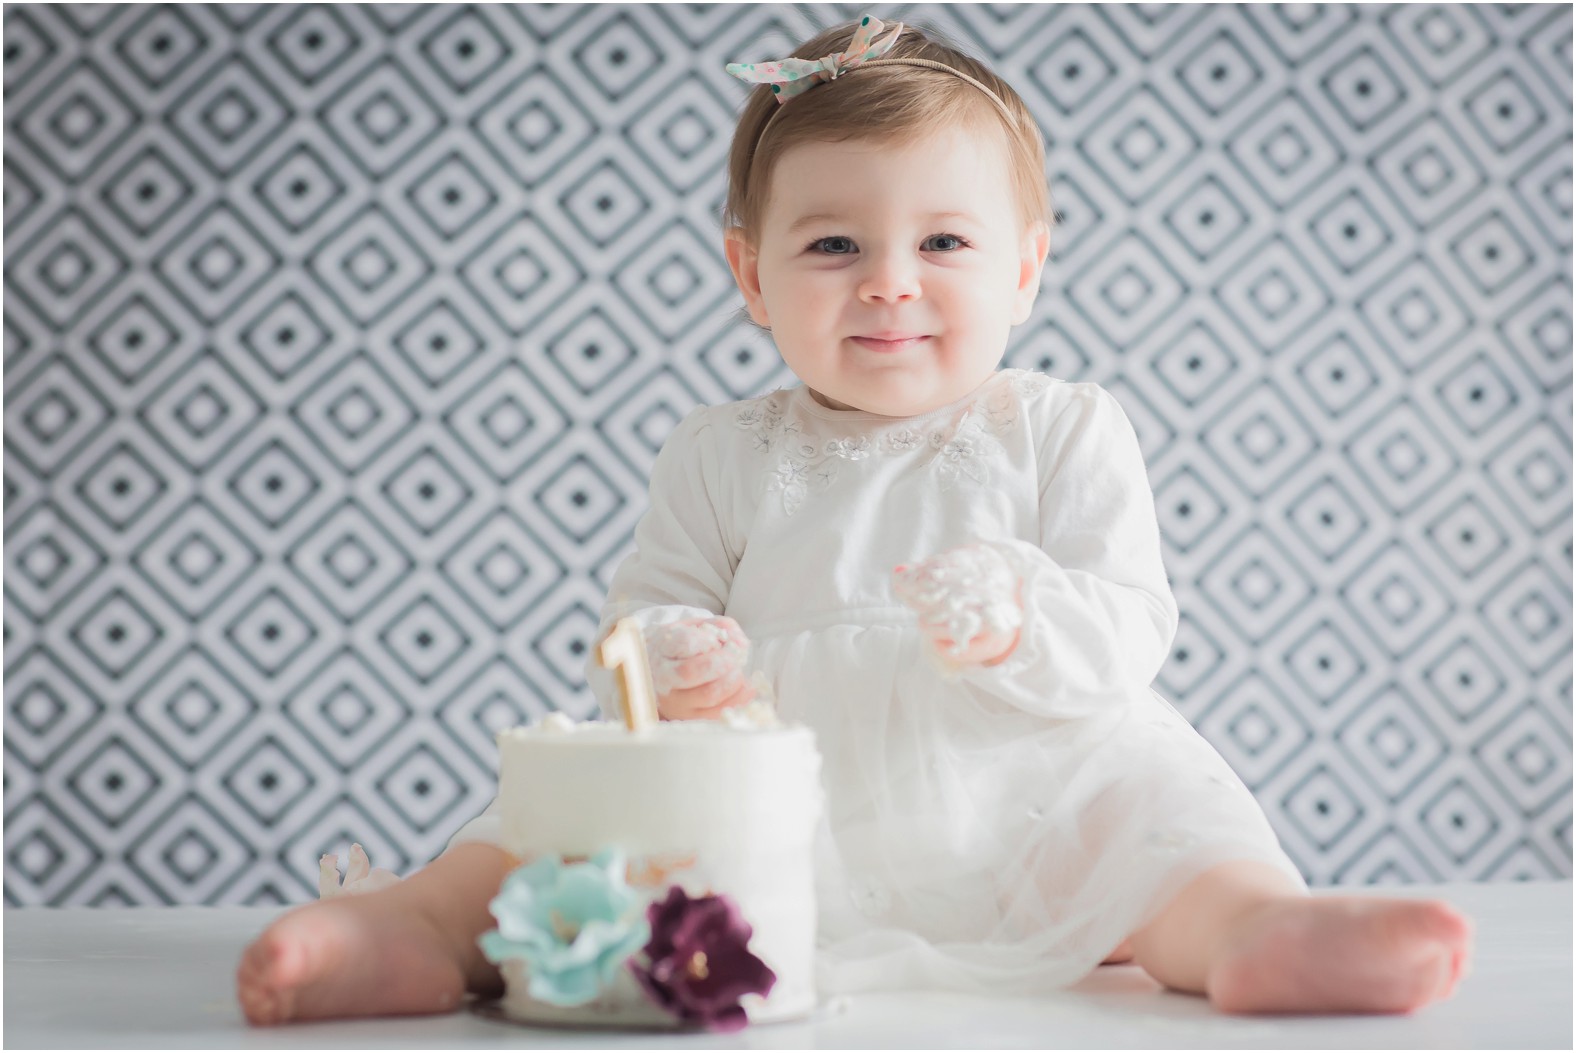
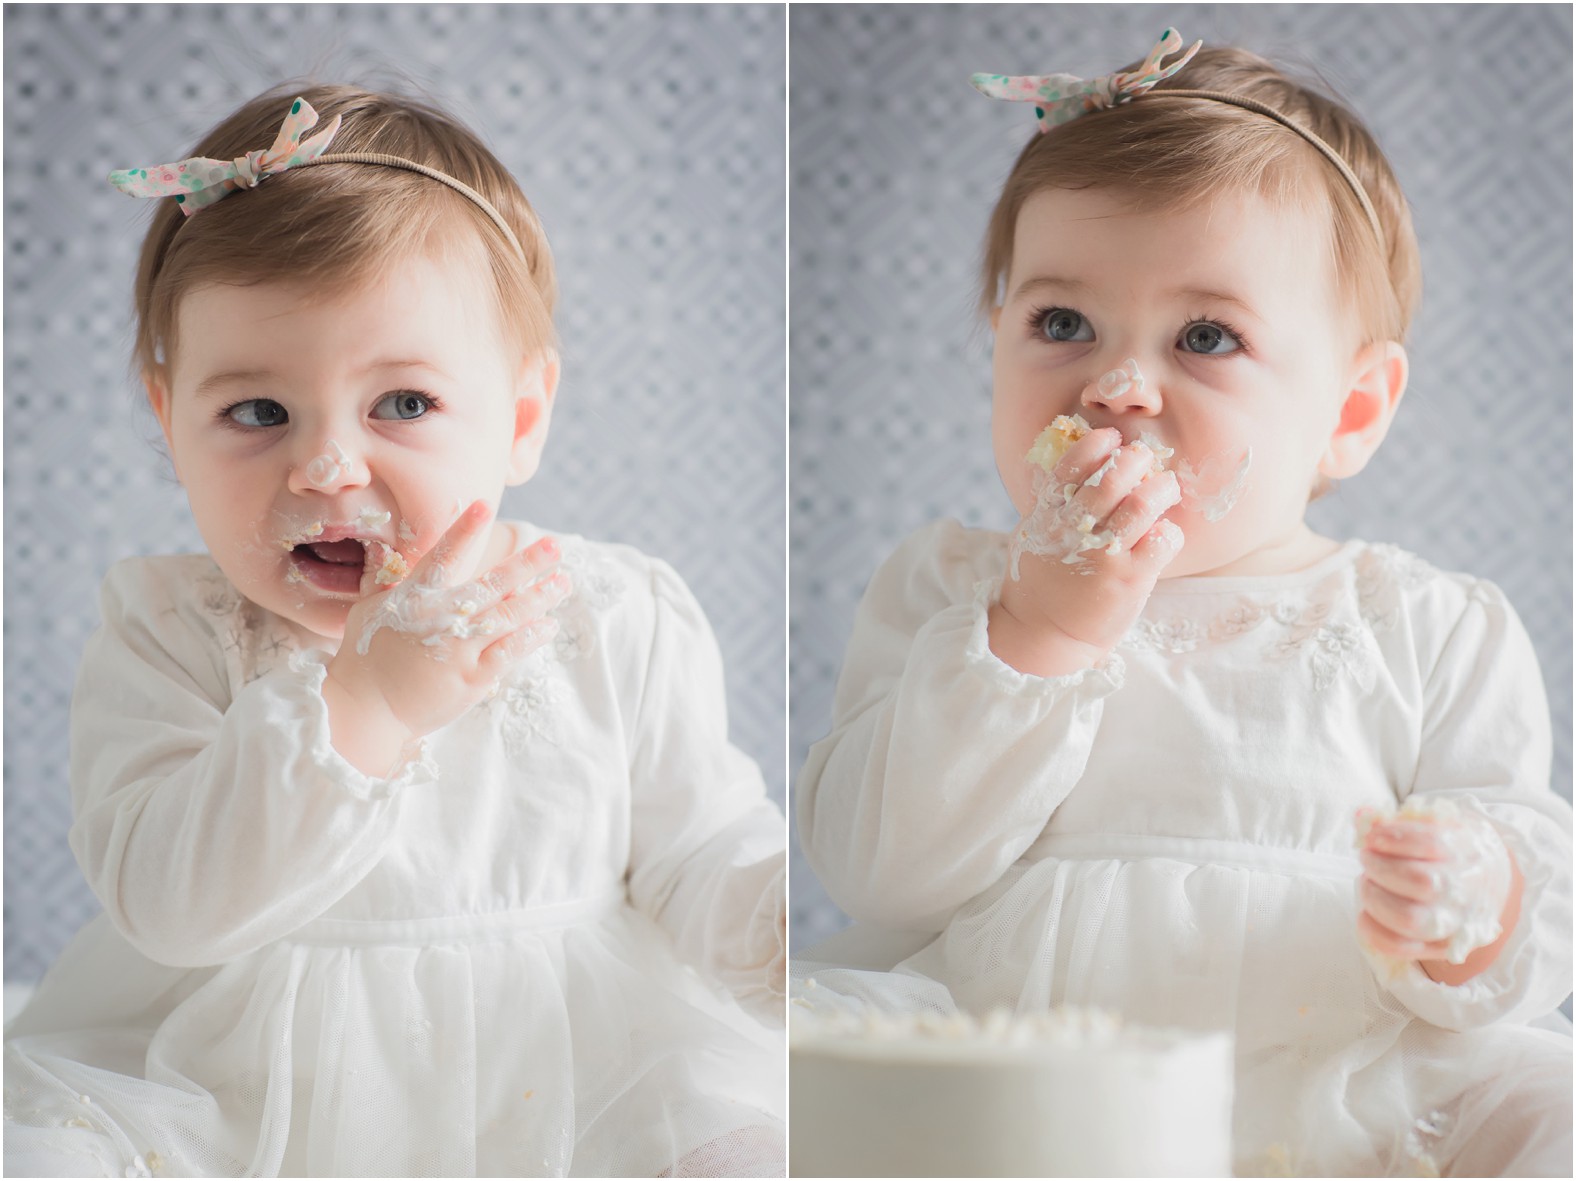
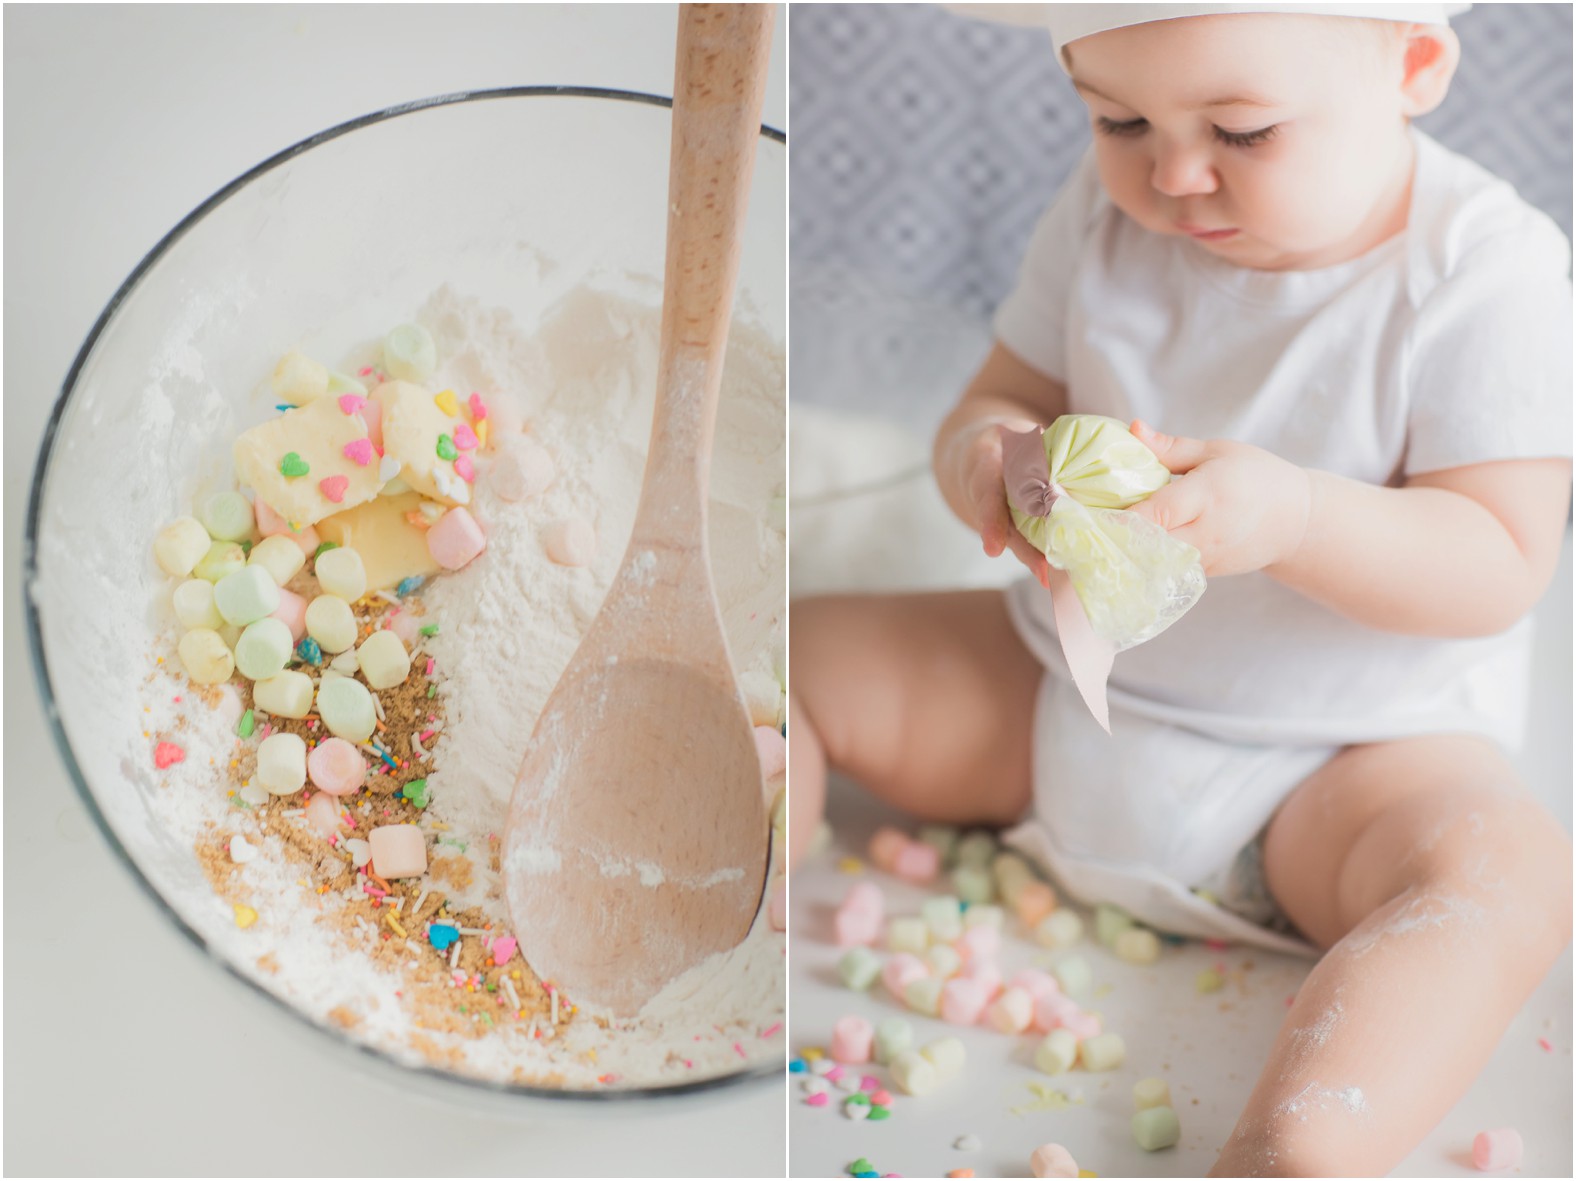
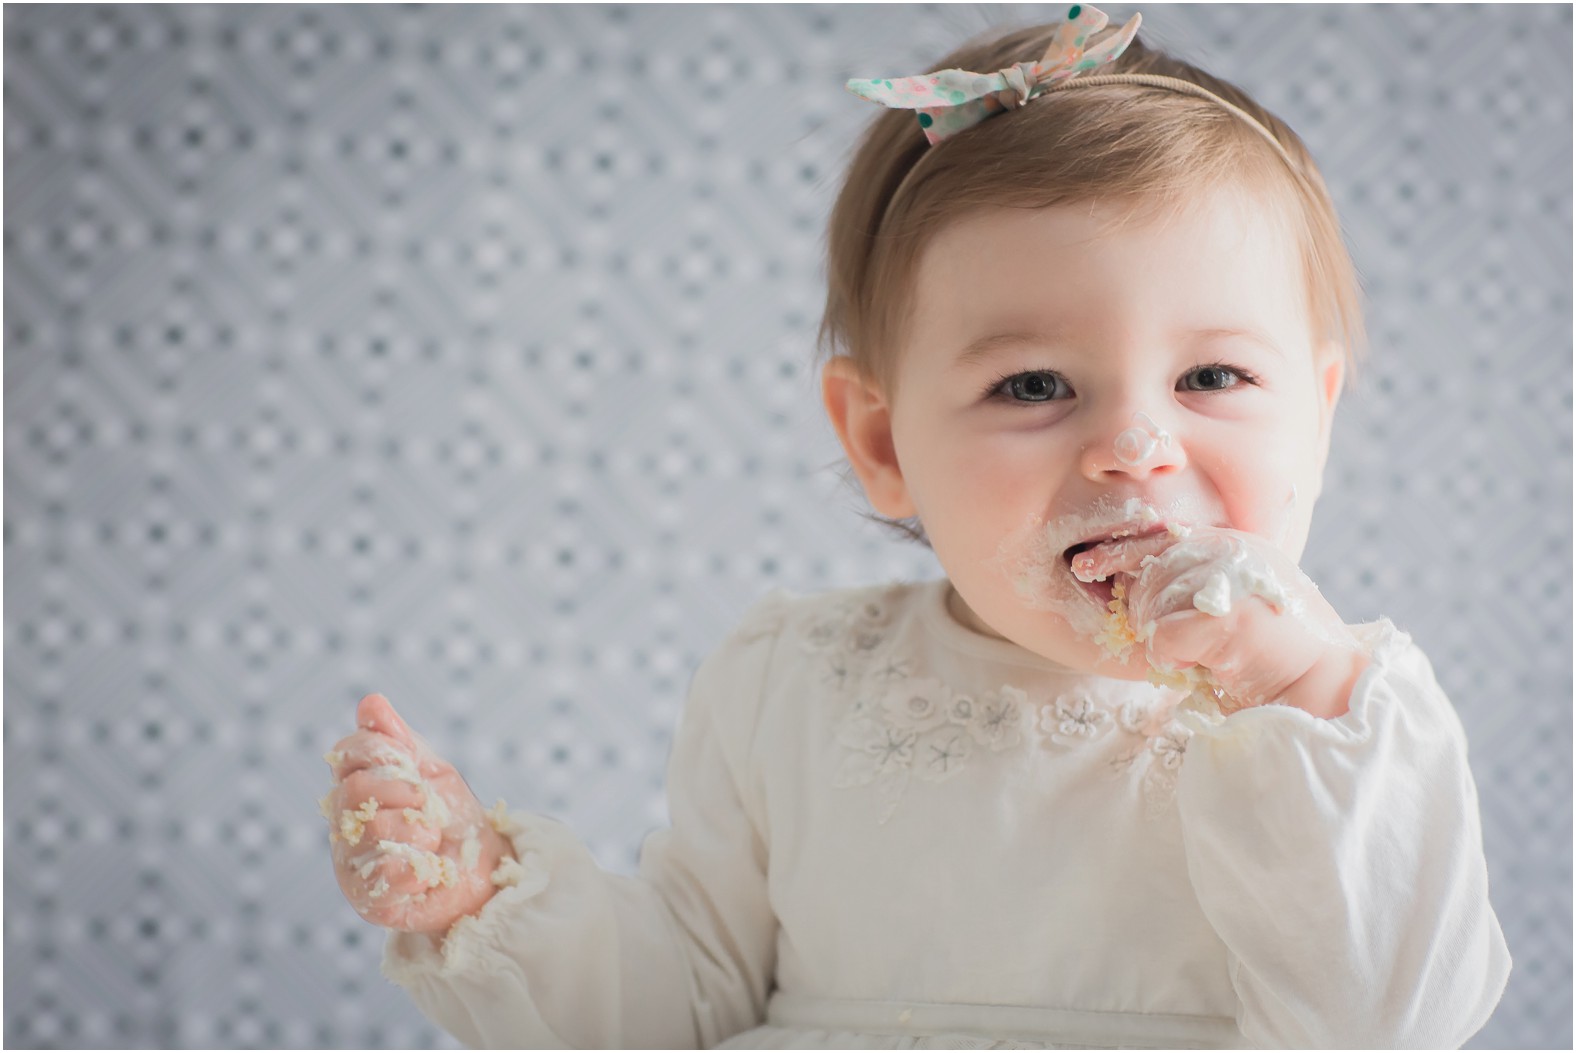 2. Let them be little. Keeping props and styling simple allows space for the littles to explore, make a mess and have fun with the theme of the day.
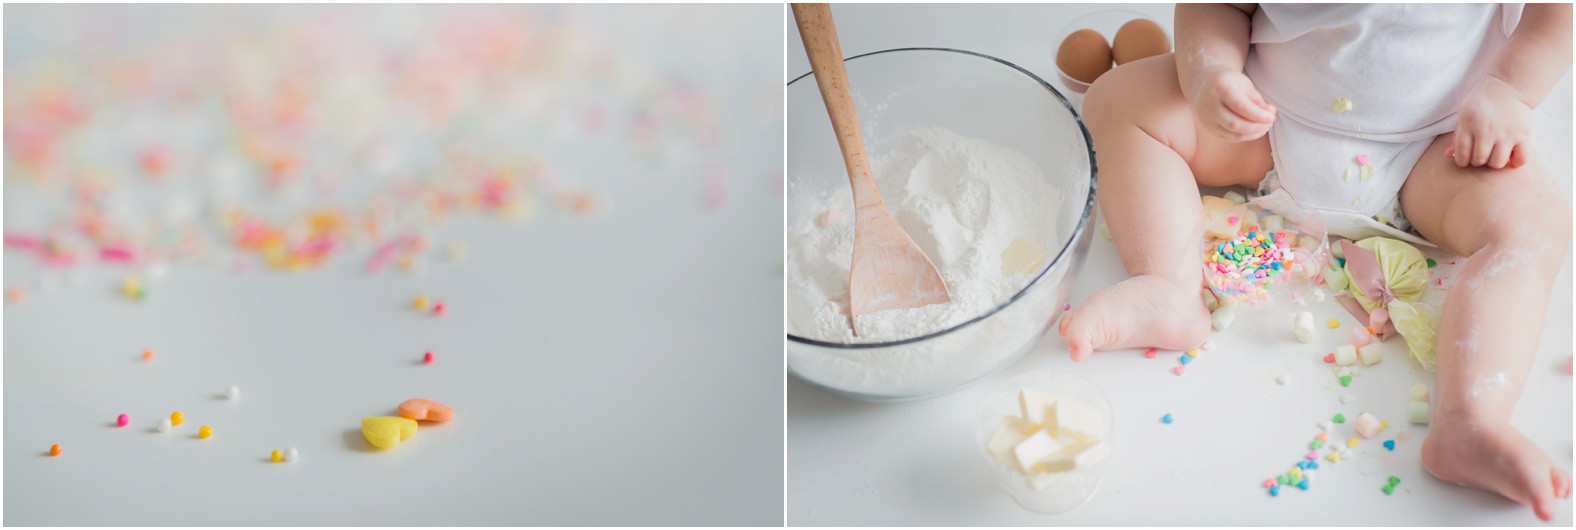
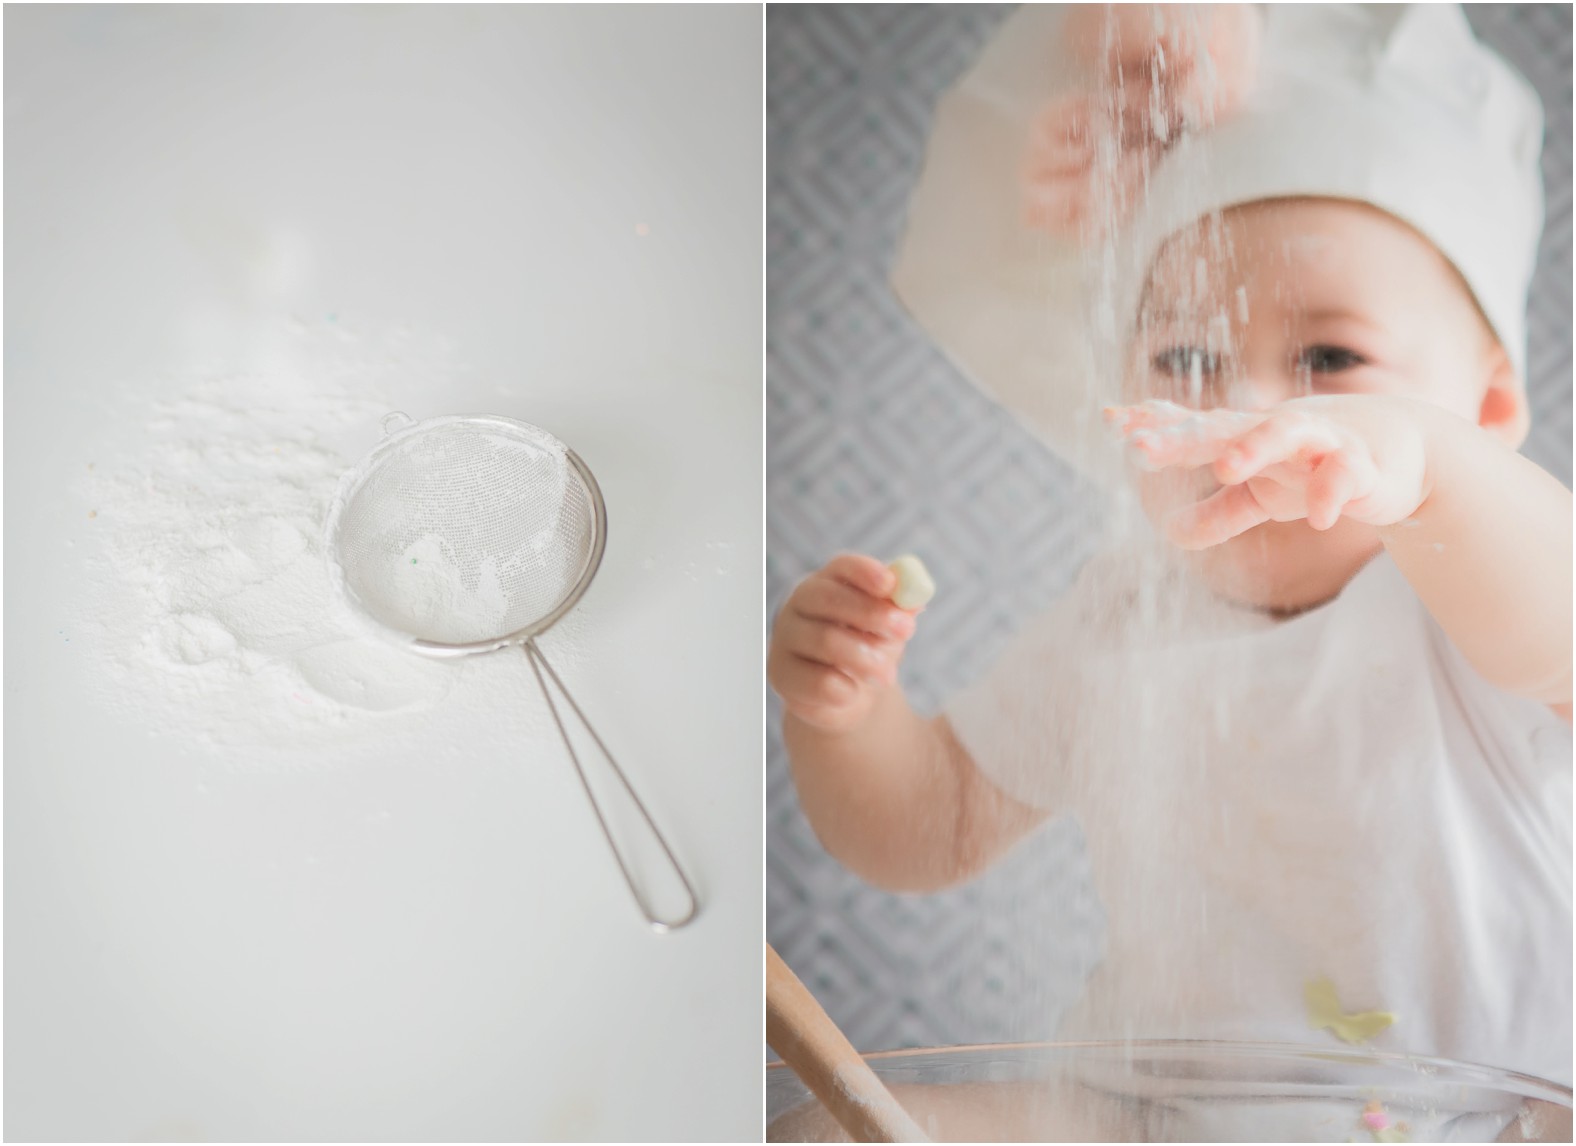
3. Be ready for the mess. I always have lots of wipes/towels available for any pauses we need to take. Some littles like mess a lot more than others so it’s also important to go with the flow. Bonus tip: Book your session in the morning so there is enough time for the sugar rush to wear off before bed time!
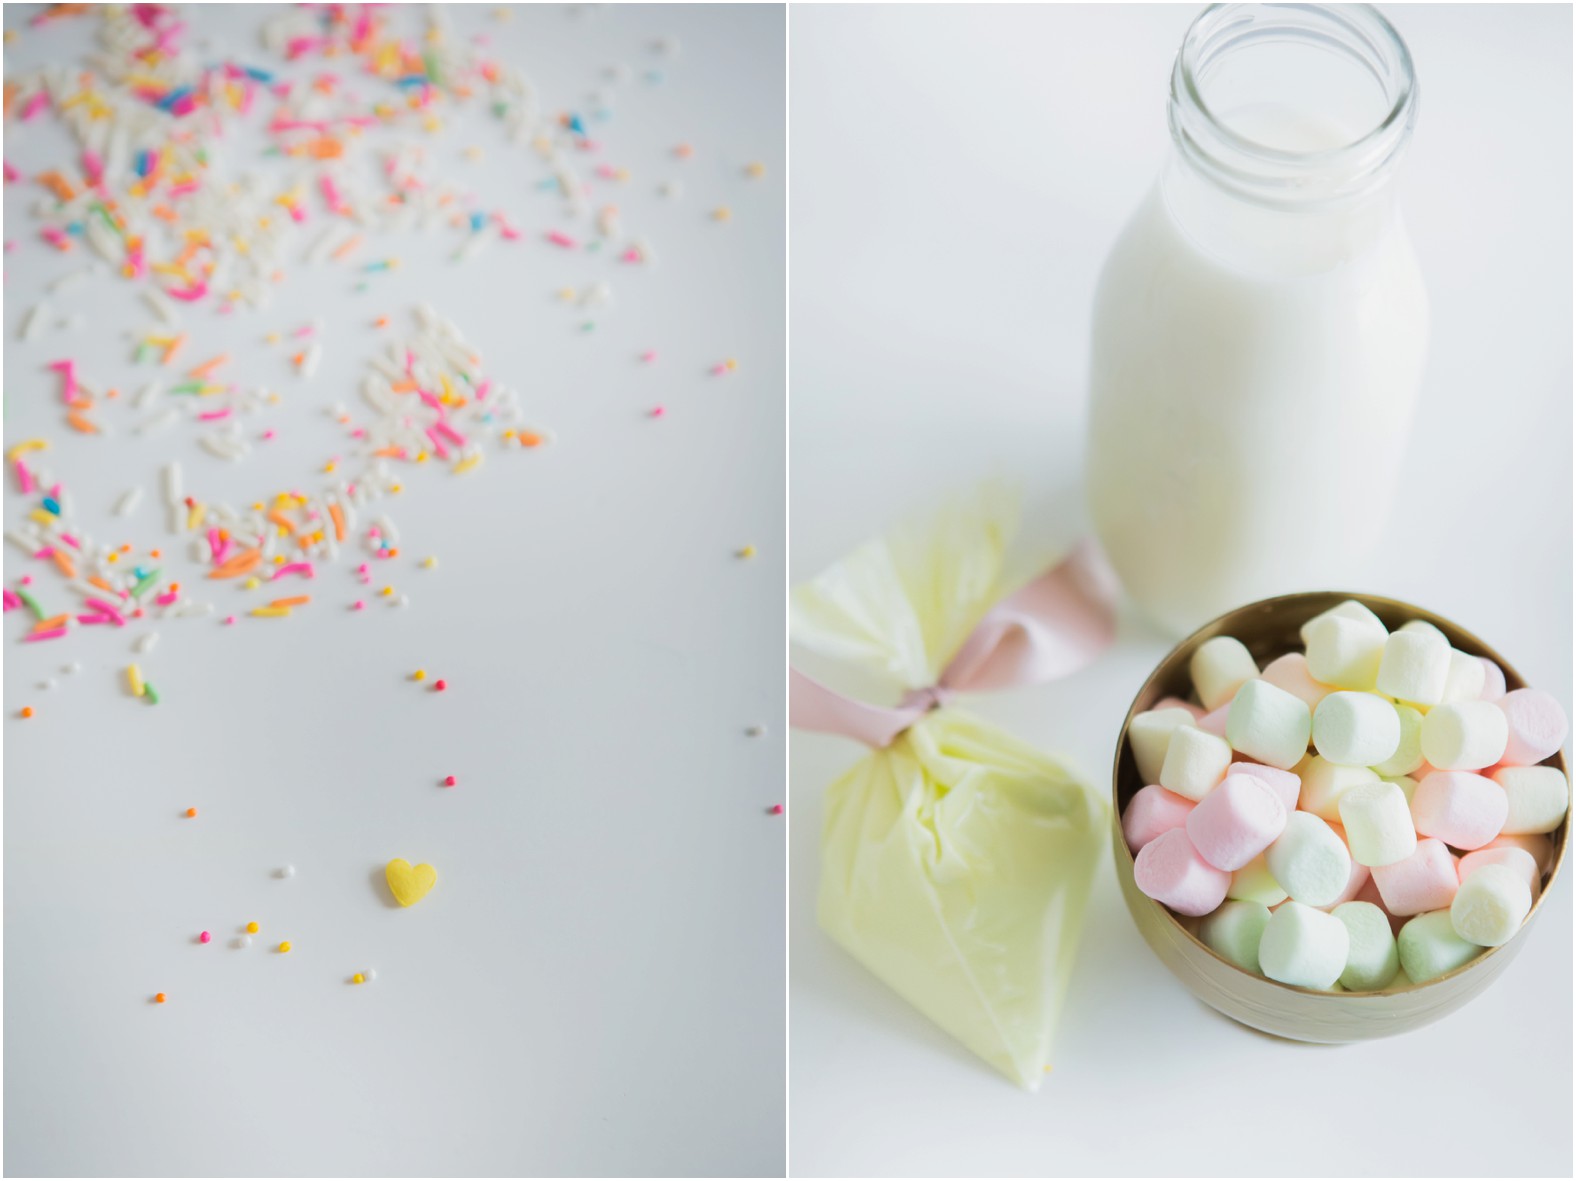 4. Don’t clean up too quick, half the fun is standing back and soaking the smash in! The details make for some super fun elements to add to albums later on too.
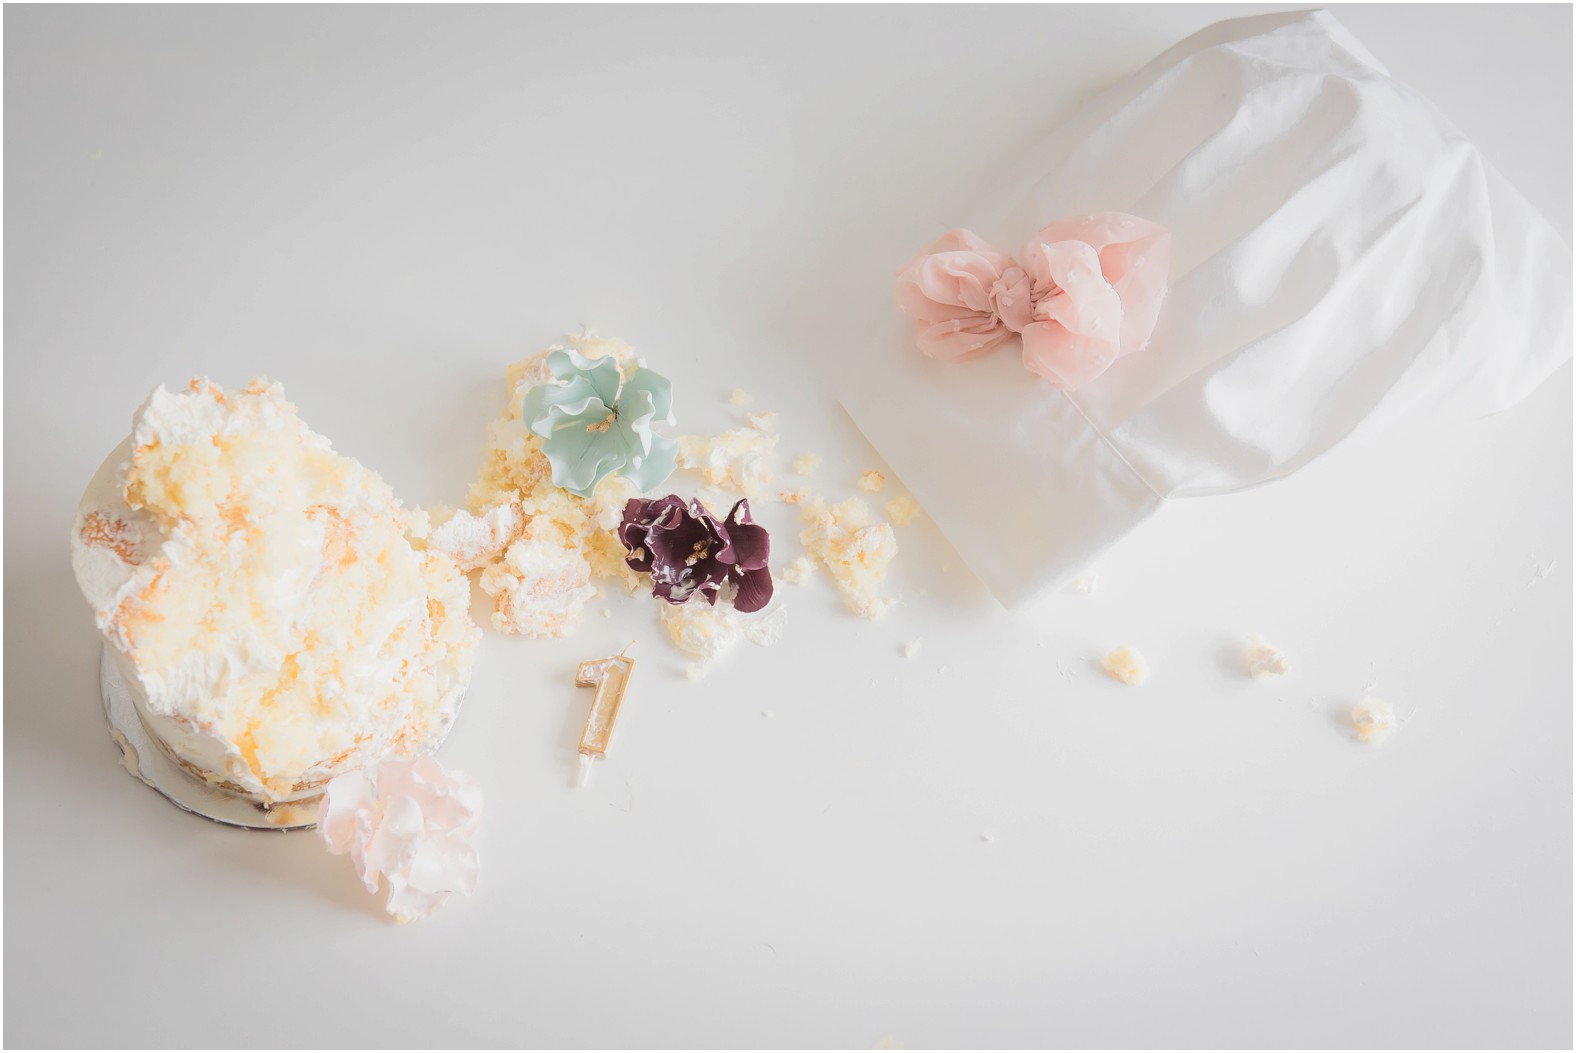 5. End off the smash with a splash. Because a baby splashing in a tub is JUST as cute as one covered in cake!


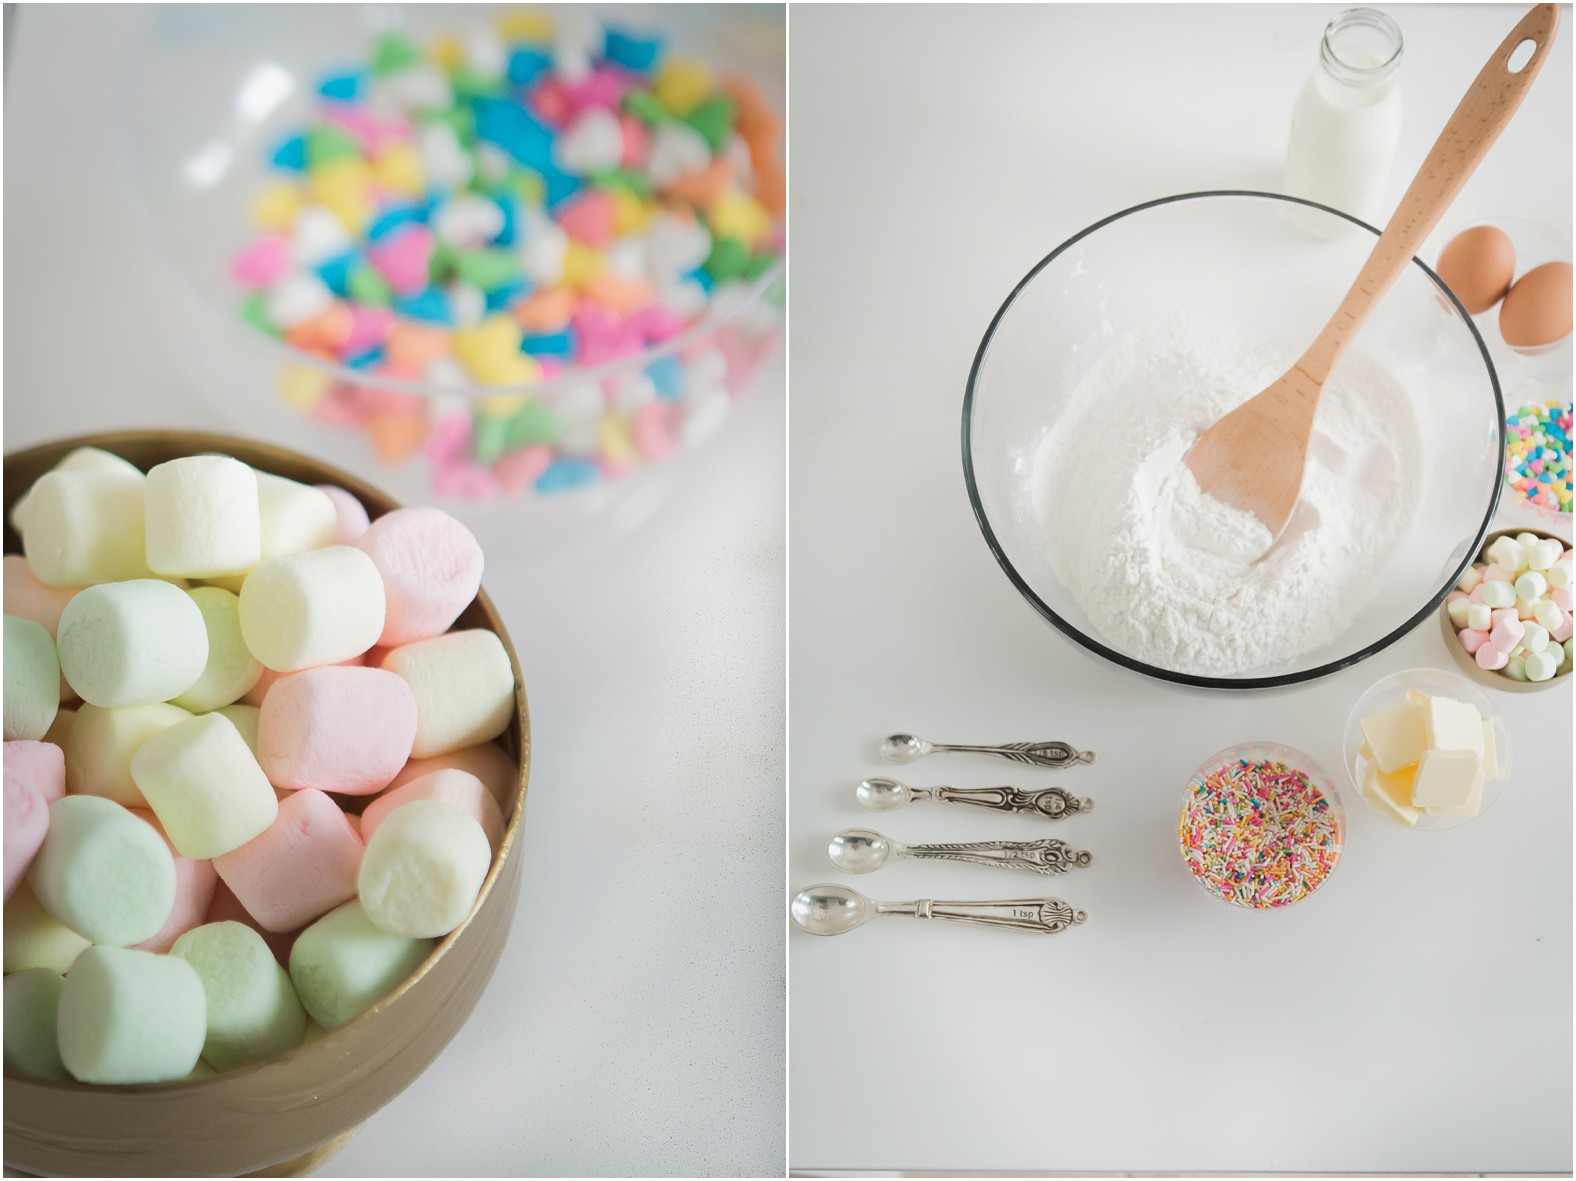
 Want to give this beauty of a cake a go from the comfort of your own kitchen? Marcia of The Dessert Room shares her naked cake & butter frosting recipe with us below:
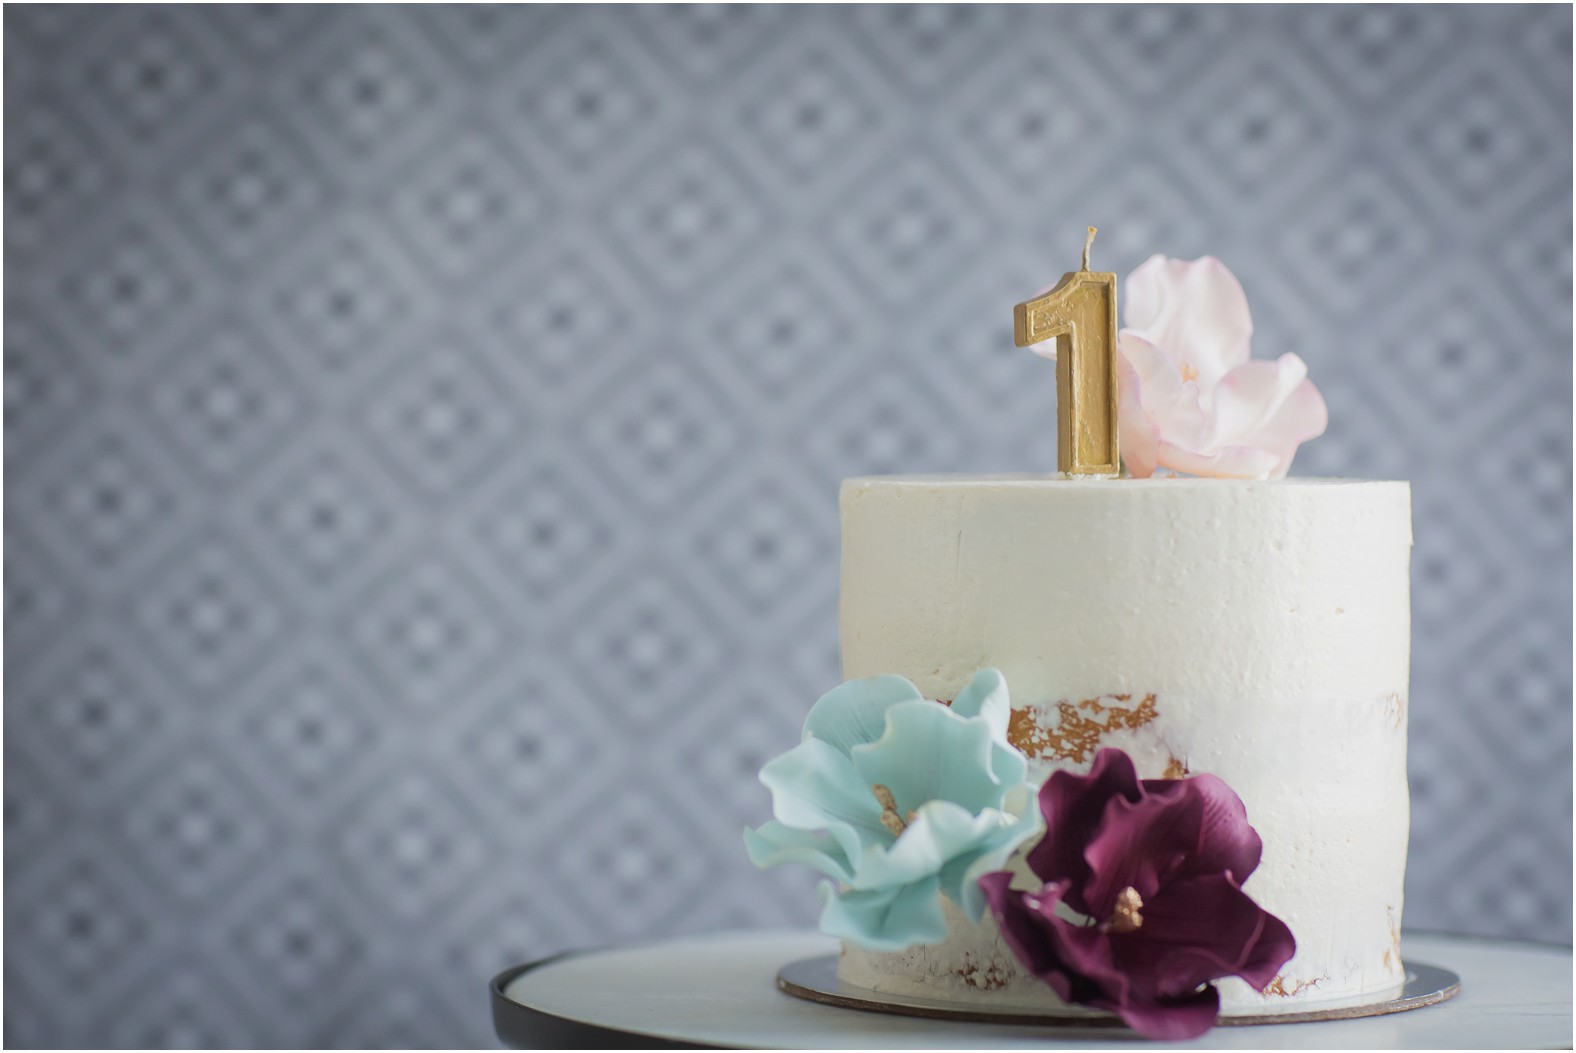
Recipe Love from The Dessert Room:
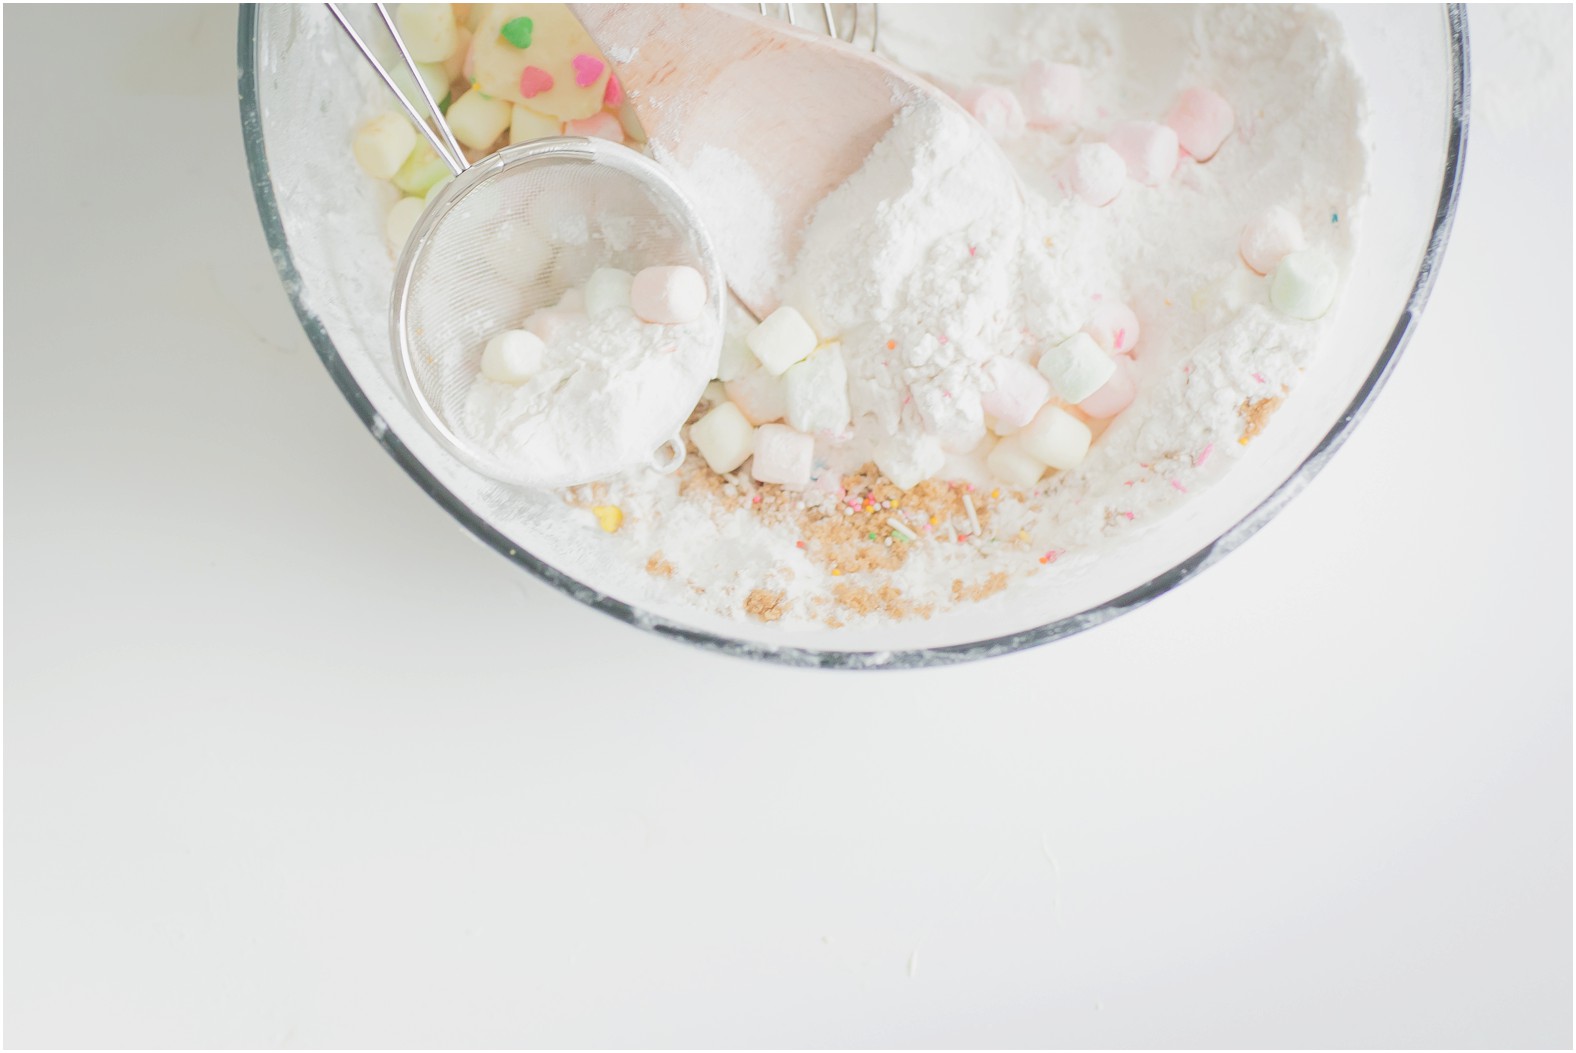
- 1/2 c. butter, unsalted
- 1 c. sugar
- 2 eggs
- 1 1/2 c. flour, sifted
- 1 tsp. baking powder
- 1/4 tsp. baking soda
- pinch salt
- 1/2 c. buttermilk
- 1 scraped out vanilla bean pod

- 1/2 lb of butter, unsalted
- 1 lb of icing sugar, sifted
- pinch salt
- 1 vanilla bean, scraped out
- 1/4 c. whipping cream
 Let’s celebrate your little turning one! Contact me to reserve your 2018 cake smash date (now booking Feb – April)
Chris
xx


