If you had a read through Part 1 of this series, you’ve likely collected a good couple of photos of your kids hanging out at home. Today I want to share some easy tips for editing images on your phone to help you enhance your images and enjoy them more.
Editing apps I love to use:
It probably doesn’t come as a surprise but the app I use the most for editing my photos is the Lightroom app (you can download this from the apple store and on android for free). I also love using the free Snapseed app for the brush and healing functions it has but those are a little more advanced. If you want to check it out, feel free to contact me with any questions and I’ll do my best to help.
As for Lightroom, it can be a bit intimidating when you first open it up but I’m going to talk you through a few simple steps (as well as a couple of intermediate editing options) you can try out too. You’ll first need to open the app and add the photo you want to edit using the small + icon on the bottom right of the screen. Once your photo is loaded, I like to do these editing steps in this order:
A / C / E :
Adjust brightness (exposure)
You do this by clicking on the lightbulb icon and selecting exposure. You can also play around with the contrast and whites and darks here too. Try not to overdo this step.
Crop the image
This is a super simple and self-explanatory step that can be done by selecting the crop tool. Sometimes an adjustment on your crop can really change the focus and feel of your image so try out different things here. Cropping can also help prep your image for social media sharing this way.
Edit with a saved preset.
This is where things get a little more advanced if you want to achieve a consistent look for your images.
Option 1: Edit an image to the look and feel you like, then simply use it as your template to copy settings to other images you load. You can do this by clicking the three little dots on the top left, copy settings and then paste them onto a new photo and tweak.
Option 2: Many photographers have presets available for sale. Once you have purchased presets, you can upload them into Lightroom and use them on your images by doing the same step as above. Feel free to contact me for recommendations for preset bundles.
B / A / R
Next, do a quick check for a colour temp balance.
This is done by clicking the colour icon and is especially relevant if you’ve taken an image with the overhead lights in your home on. Tip: try to remember to turn these off when taking photos on your phone. Remember, natural light is much more effective to work with when editing.
Adjust Saturation.
Next, within the same colour slider. You can also adjust the vibrance of your image here but again, don’t overdo anything in this step.
Remove parts of the image if needed.
Save your image and export it to your camera roll for this final editing step which I like to do in Snapseed. The healing tool (the bandaid icon) will help you remove anything you need to from your images such as a blemish or something in the background that is distracting to your image. Obviously, when doing this on your phone you’ll have much less control and precision than doing something like this in photoshop. This advanced step can generally be skipped all together but it’s useful to know that you can do this in an extra step if you need to.
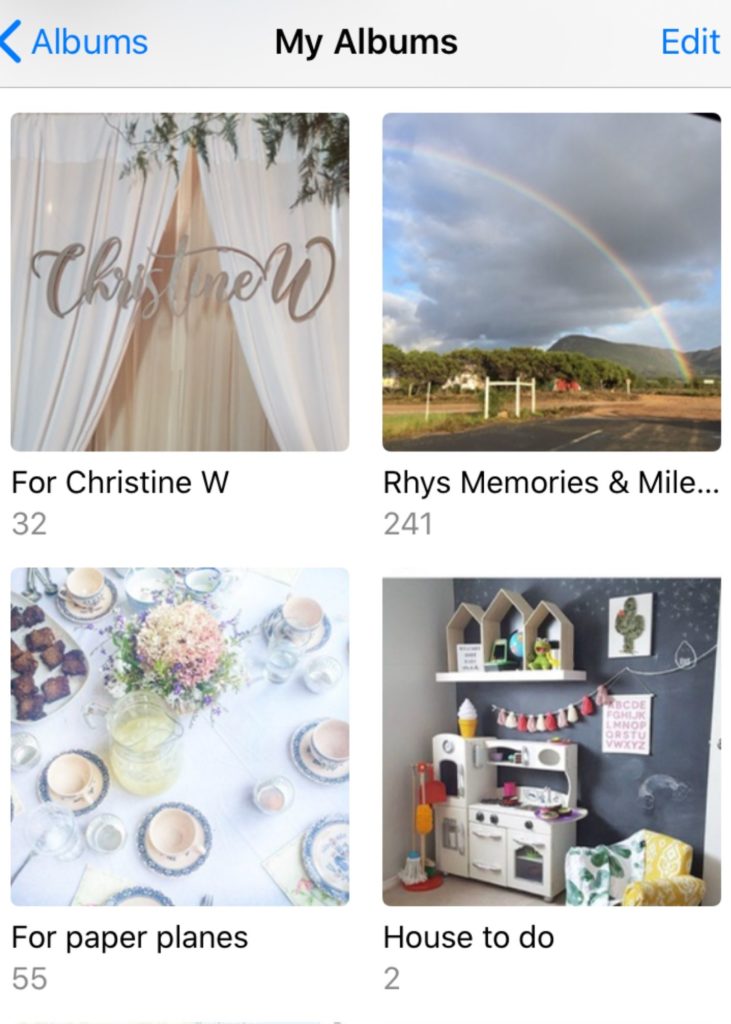
These six simple steps are the ones I follow to edit my images on my phone for use on my social media feeds (Christine_w_photography but also paperplanesandpeaches and my own personal account that I have connected to my ChatBooks for easy album creating). Yes, I manage all three accounts for my business/blog/billions of baby photos and yes, I have thousands of photos not only on my phone but stored on external hard drives and in the cloud too. I am a little obsessive about organising, storing, backing up and finally, displaying and enjoying the photos I take so I’ll be sharing all about how I do this in a larger Part 3 to this series coming your way next week.
Here’s a sneak peek:
For now, explore and experiment with your editing and feel free to contact me here with any questions and I’ll be happy to help you out!
xx
